


🚪 Seal the deal with DGSL – where your garage meets ultimate comfort!
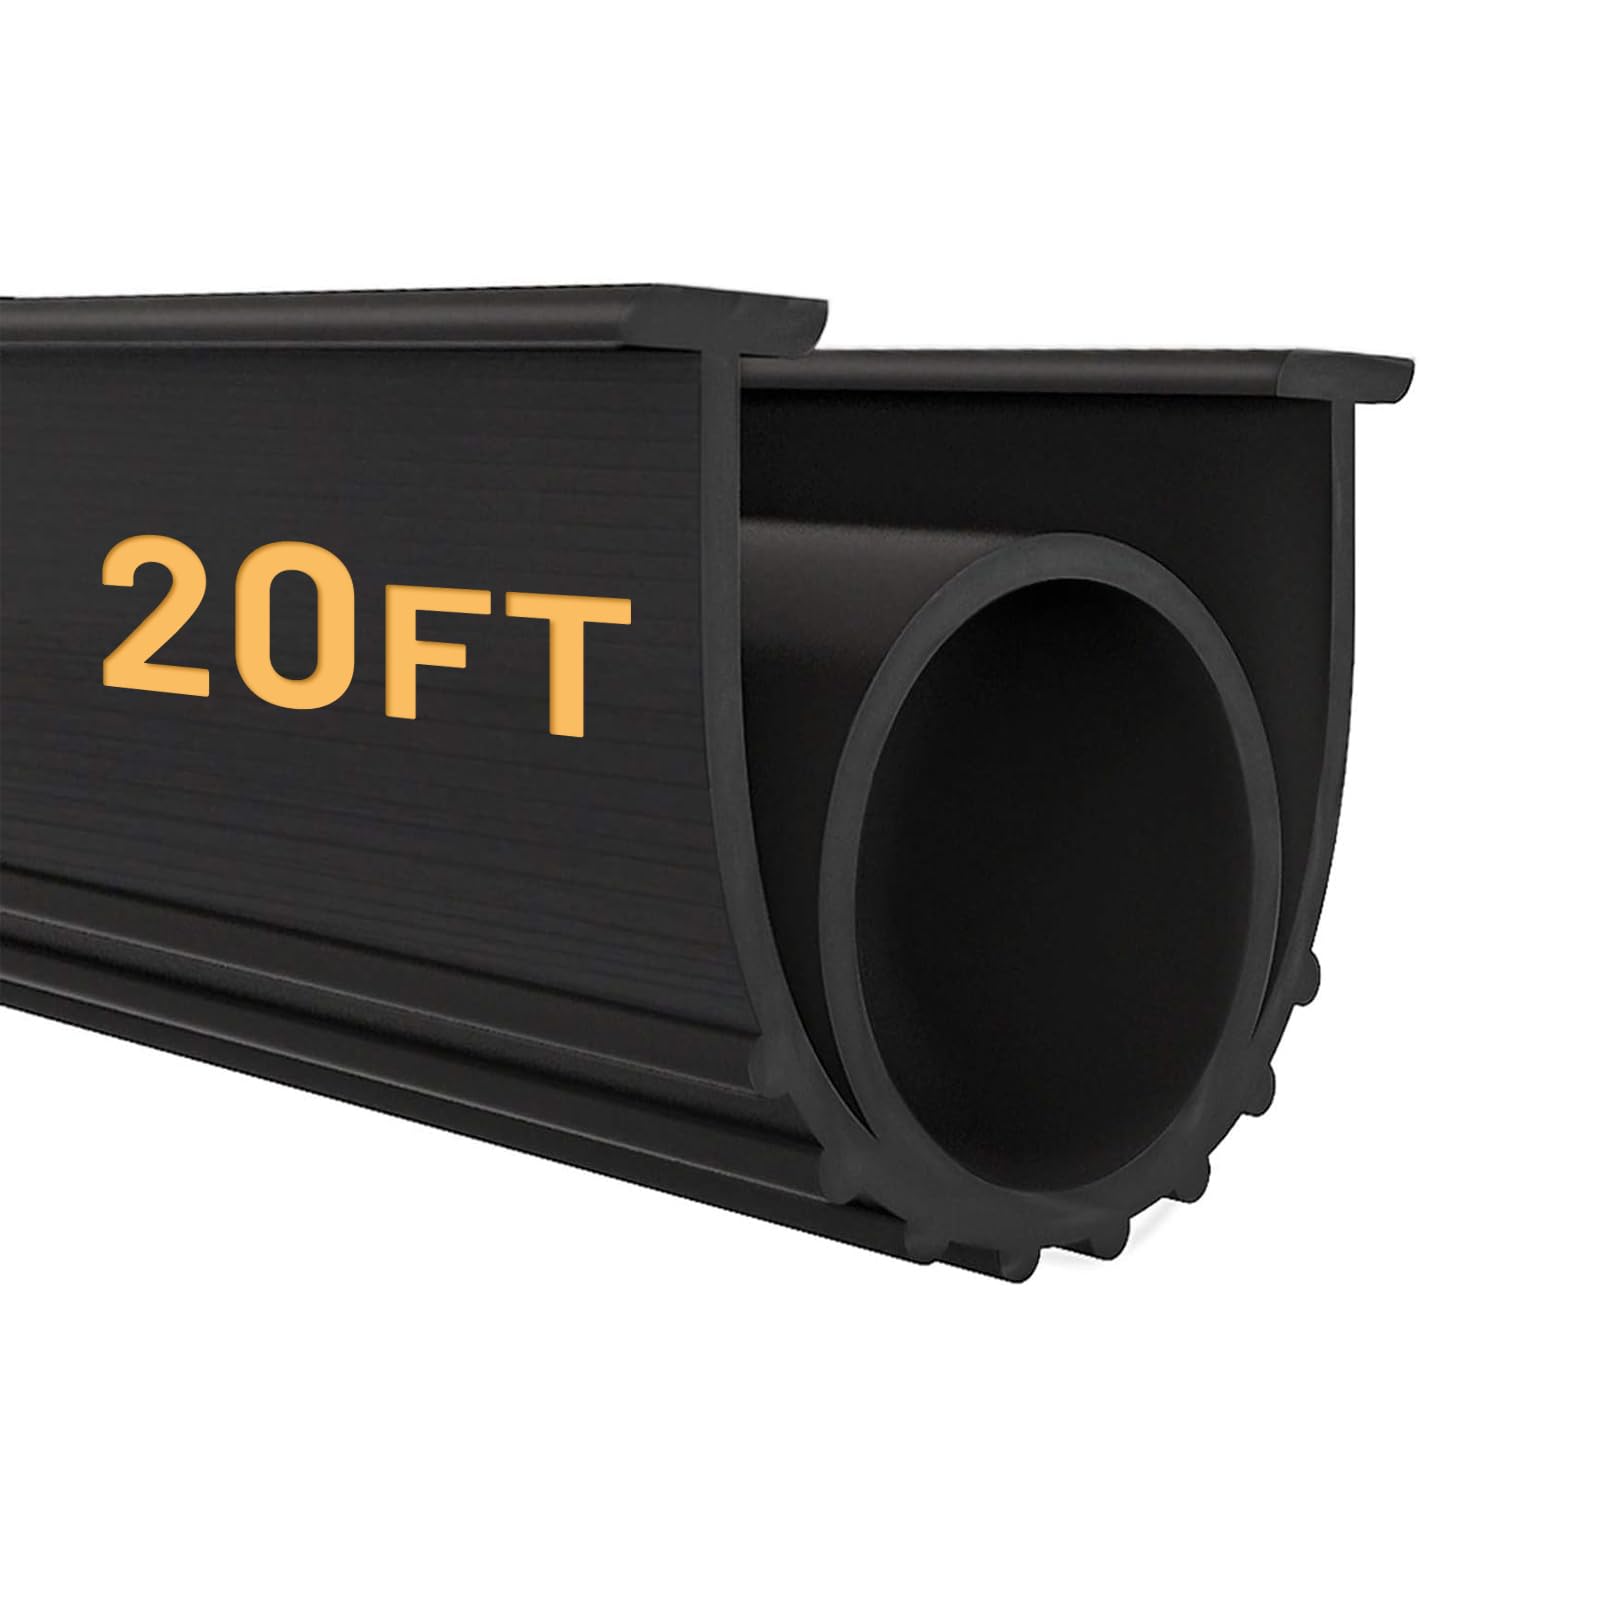
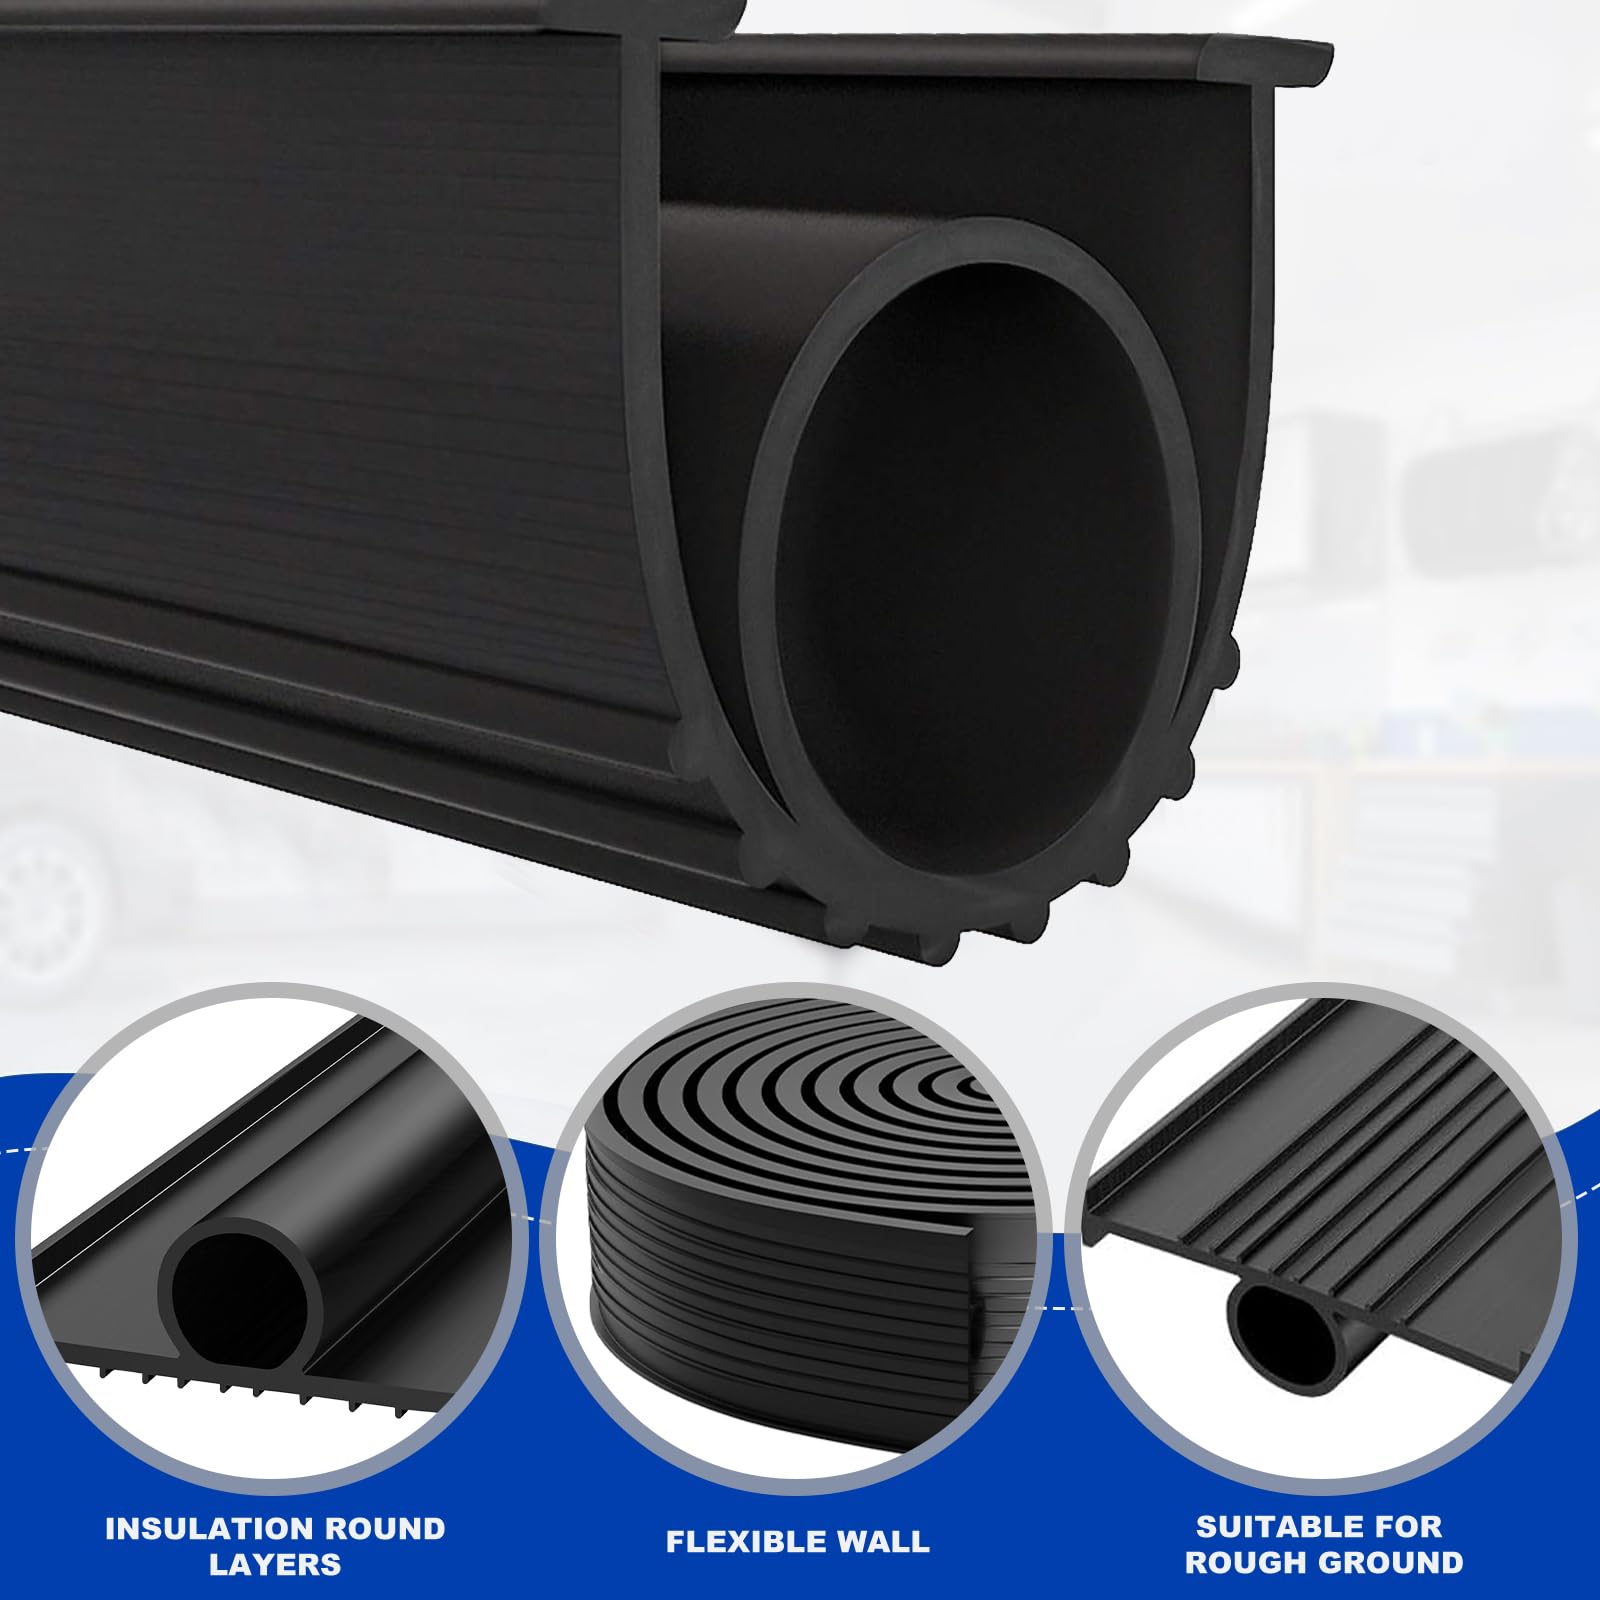
The DGSL Garage Door Seals Bottom Rubber Weather Stripping Kit offers a universal, heavy-duty weatherproof solution with a 5/16" T-channel end design and 3.75" width. Made from flexible, waterproof rubber, it withstands extreme temperatures from -40°F to 140°F. This easy-to-install kit reduces noise by up to 5 times and provides airtight, watertight sealing to protect your garage from dust, drafts, and moisture, while allowing custom trimming for a perfect fit.


| Brand | DGSL |
| Material | Rubber |
| Color | Black |
| Product Dimensions | 240"L x 3.75"W |
| Item Thickness | 3.75 Inches |
| Recommended Uses For Product | Door |
| UPC | 026458365386 |
| Number of Items | 1 |
| Global Trade Identification Number | 00026458365386 |
| Manufacturer | DGSL |
| Unit Count | 20.0 Feet |
| Part Number | 23 |
| Item Weight | 8.4 pounds |
| Item model number | 23 |
| Size | 20 Ft |
| Style | Universal |
| Batteries Included? | No |
| Batteries Required? | No |
S**D
Great replacement
My existing seal was well worn, had even 'shrunk' over time so that there was a 2-3" gap on both ends leaving room for wind to blow snow/debris or for critters. I finally decided it was time for a replacement.It took a total of about an hour. Removal of the old flimsy seal was simple. I pulled at one end with some pliers for good grip, and it pulled right out of the track.I started the install with two of us. I was on the end gradually 'folding' the seal to line it up in the tracks while my son slowly pulled from the end. We have shelving units on the sides of the garage on each end of the door, which leaves very little room past the door track. That definitely made it a bit more challenging. The material is not super pliable. I was having troubles trying to fold the material with the weight of the seal pulling down at the same time. So I had my wife basically just hold the back end to take the weight off while I was folding and that made it much easier.I quickly took a shop towel with a flat screwdriver and ran it through the tracks before I started to clean them up a bit, but they wasn't all that bad to begin with. I sprayed some WD40 when we started on about the first quarter of the tracks. I sprayed the whole length of that stretch, the mistake being that there was enough that it started to drip and bit and made the end of the seal that my son was pulling on a bit slippery. So I would suggest just a quick squirt every foot or so for a bit of lube to help it slide more smoothly.Very happy with the seal after only a few days. The first time I closed the door, it actually opened back up via the safety feature because it didn't close all the way. I know there is a way to adjust that, but I closed it again and gently pressed down on the door as it close. That worked, and has been fine ever since. So no need to adjust the opener itself in my case.
M**
It’s not a 10 minute job.
Clean you track before installing and get another person to help you slide it in. I sprayed my track with kroil before I started and it made it easier. if I was going to do it again, I would probably spray the track down with dish soap. It probably took me and my wife 30 minutes to install it. That’s not including the cleaning time I took to clean the door out.
P**F
This is not what I thought I was getting. I expected a complete kit, not just a seal.
Apparently I must have been suffering a senior moment when I ordered this product. From the title of the item description, I thought that this was a complete kit including the metal rail that the seal is installed. From comments and videos it appears that the rail comes with the seal as it shows the rail installation as well as the seal installation. Not all comments and videos were so deceiving though. I should have made better attention. As I see that the price for kits that include the rail cost about double what the seal alone cost. So, my bad.
J**B
Excellent product. Including some install tips.
Overall, excellent product.I personally did not experience any of the negative comments expressed by others. However, there may be reasons why as explained below.The quality of the product it’s good. Very sturdy. Easy to work with even in limited space, like I had. But you do have to be patient when installing the product. Not everything in life is force, some things require just a little patience, finesse, and know how.Remember to measure properly the size of the channels on the aluminum guide at the base of the garage door before buying this product. The product is NOT made for all doors so this is a crucial step. If you do not have a visible way to measure, you may need to cut off one of the corners of the existing seal to be able to measure correctly.Suggestions if you’re going to do this yourself:a) it is extremely important you watch several YouTube videos, where it shows how to install this and other similar products. You will get a lot of good tips on how to make your life easier and install the product properly. I wouldn’t even recommend doing the installation unless you get familiar with some instructions and tips on how to do it.b) remove the old seal, cutting it through the middle all the length of the door and then pulling each side carefully. (Watch YouTube videos).c) one of the most important part of the installation, is inspecting the grooves or channels (aluminum guide) where the product is going to be installed at. Any imperfections, dents, debris, bends or anything else out of place will be a tremendous problem at installation time and a waste of lots of time. So the time invested doing this pays tremendously at the end. Any problems such as the ones I just listed, need to be corrected (cleaned, grinded, straighten out, etc) before inserting the new seal. This is crucial. It is possible you may also need a new aluminum guide. It is possible you may also need a new aluminum guide. Some problems cannot be solved.d) with a sturdy brush make sure the channels where the product goes are cleaned as best as you can. Any small debris can make the installation 10 times harder.e) apply WD-40 silicon grease to each of the two channels, making sure they are really, really wet.f) then, you can start inserting the seal at both channels equally and move it alone at the same pace. My recommendation will be to use a little bit of WD-40 silicon also on the actual sections of the seal that go into the channels to make sure that both the channels and the seal section are wet with silicon. This helps the product move alone in the channel with as little resistance as possible. *Note: This is technically a job for two people due to the fact that someone needs to be pulling on one side as you feed the seal into the grooves, however, I was able to install the product by myself just by following all the steps above. And trust me, I’m not that strong.Hope the above helps make your life easier.
Trustpilot
Hace 1 mes
Hace 4 días
