
🌌 Capture the unseen—night vision redefined for your Raspberry Pi projects!
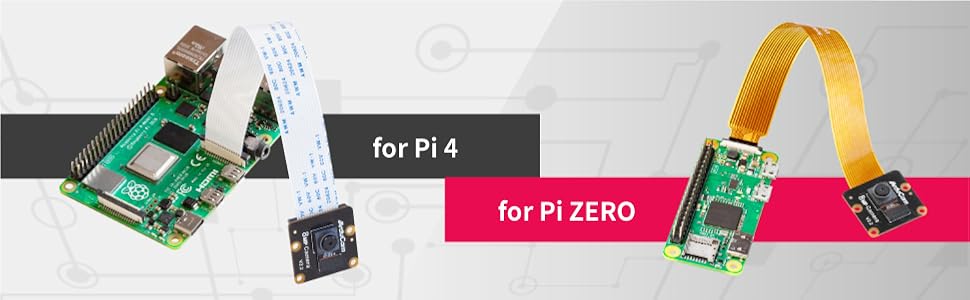
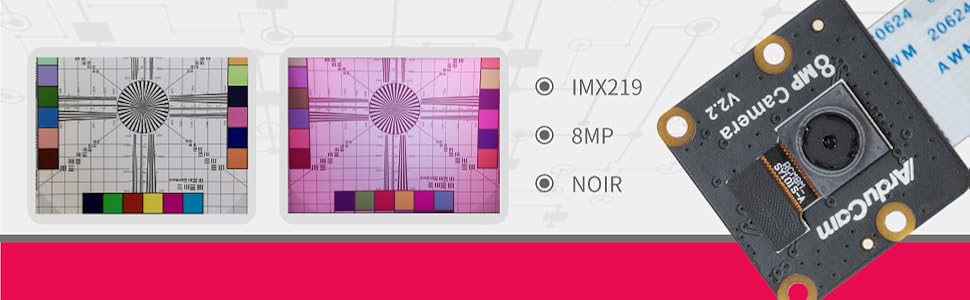
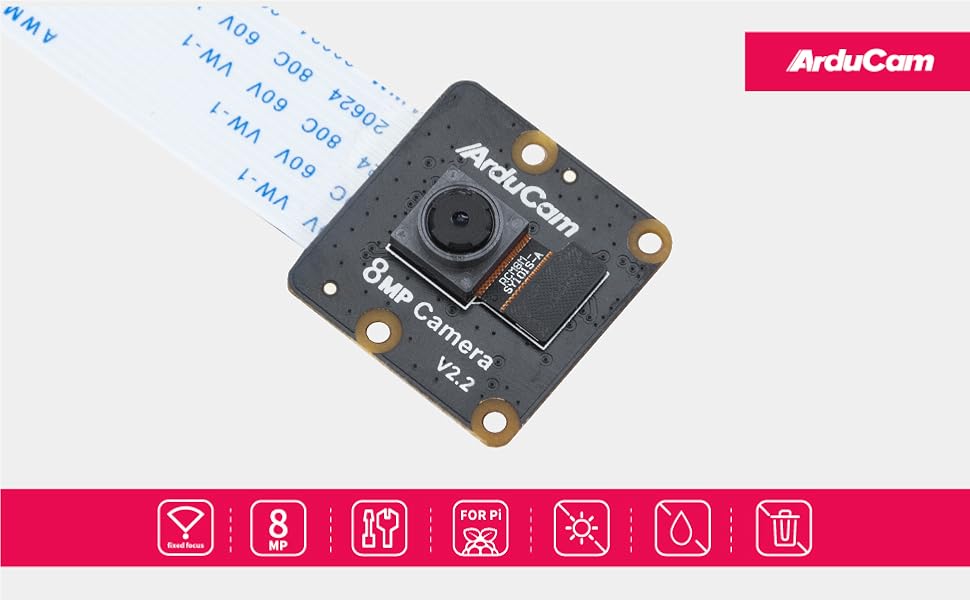
The Arducam Noir Camera Module features an 8MP IMX219 sensor without an IR filter, enabling true night vision capabilities. Compatible with all major Raspberry Pi models, it offers plug-and-play setup and adaptive infrared sensitivity, making it ideal for surveillance, DIY tech, and creative coding projects.

| ASIN | B09YHPB3NY |
| Best Sellers Rank | #250 in Webcams |
| Brand | Arducam |
| CPU Manufacturer | Broadcom |
| Compatible Devices | Raspberry Pi 5, 4B, 3B+, 3B, 2B, Pi Zero, Pi Zero 2W |
| Connectivity Technology | Infrared |
| Customer Reviews | 3.9 out of 5 stars 43 Reviews |
| Manufacturer | Arducam |
| Model Name | IMX219 NOIR |
| Operating System | Pi OS Bullseye |
| Processor Brand | Broadcom |
| Processor Count | 1 |
| RAM Memory Technology | LPDDR2 |
| Total Usb Ports | 12 |
| Warranty Description | 6 Months |
| Wireless Communication Standard | Infrared |
| Wireless Compability | Infrared |
N**B
Good for garage monitoring..
Works well with Pi family including Pi Zero, just as advertised. Ideal for Garage monitoring, IR is quite sensitive to ambient lighting and switches immediately
N**N
Easy setup on pi 3
Module works fine with the Pi4. Easy setup, mainly plug and get programming
M**E
Didn’t work on my pi 0w2
Didn’t work with my pi0w2
K**N
It worked. Helpful hints to use. Documentation not great on wiring.
My setup was for a Raspberry Pi Zero W. I am on Bookworm. Turn on SSH and save yourself the headache. Note: There is no camera option in the raspi-config for Bookworm. Don't look for it. Go to Arducam and follow directions for your specific OS. And the most important part. That made it really hard to set up. THE RIBBON CABLE FACES AWAY FROM THE BOARD. As in the silver connections do not go toward the board. They go away from it. Doesn't make sense. That's how it's made. But it works for what I need it. I have it on a Prusa MK3S+. I can see the printer without turning on the lights. The ambient light is just enough. Good luck.
G**N
You are on your own.
The camera and cables are neatly tucked into a static proof bag, with a red slip of paper wrapped around everything saying FOLLOW INSTRUCTION MANUAL. Well there is a sheet of paper within. It has two images showing how to connect the cables...important info. Then there is a internet link which says its a quick start guide. So the webite is an "404 error" on Arducam website. So there is no manual, no instructions. Just figure it out yourself...no warranty since you aren't following the imaginary manual
S**R
Camera for robot
Works perfectly and fi thr robot im using it for
J**C
Good timelapse quality in low light.
I own 2 of these and find them satisfactory. The autofocus is sharp and ideal for rooms or static areas. The autofocus is a little choppy monitoring my yard on breezy days using rpicam scripts. I have not used this with python. The picture quality is good, and for timelapse at night is very good.
D**R
Doesn't fit like a glove in the OS.
I used a RPI Zero 2w and the Bookworm OS. Narrow cable both ends... Camera board, the back side of the board with the ribbon connector, bare connector end faces out. Blue side faces forward like the camera element. The RPI camera connector, the exposed pins face toward the Main board, blue side faces up and away from the board. in /boot/firmware/config.txt I left camera_auto_detect=1 the way it was. I added next line down, dtoverlay=imx219. I left dtoverlay=vc4-kms-v3d the way it was. After a reboot in /dev I had a video0 & video1. I installed libcamera-v4l2 and libcamera-tools. rpicam-hello got the first screen for about 2 seconds. rpicam-hello -h gets a help screen. Don't get too excited the vlc capture device would NOT get a picture from video0 or video1. What's the chance there are some problems with the a single connector doing displays/camera's both. (Zero2 & RPI 5) It took HOURS to dig enough info & debuging to get some pic and vid samples!
Trustpilot
Hace 2 meses
Hace 3 semanas


