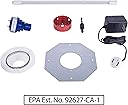
Desertcart purchases this item on your behalf and handles shipping, customs, and support to Panama.
🛡️ Shield your air, elevate your wellness — breathe smarter, live better!
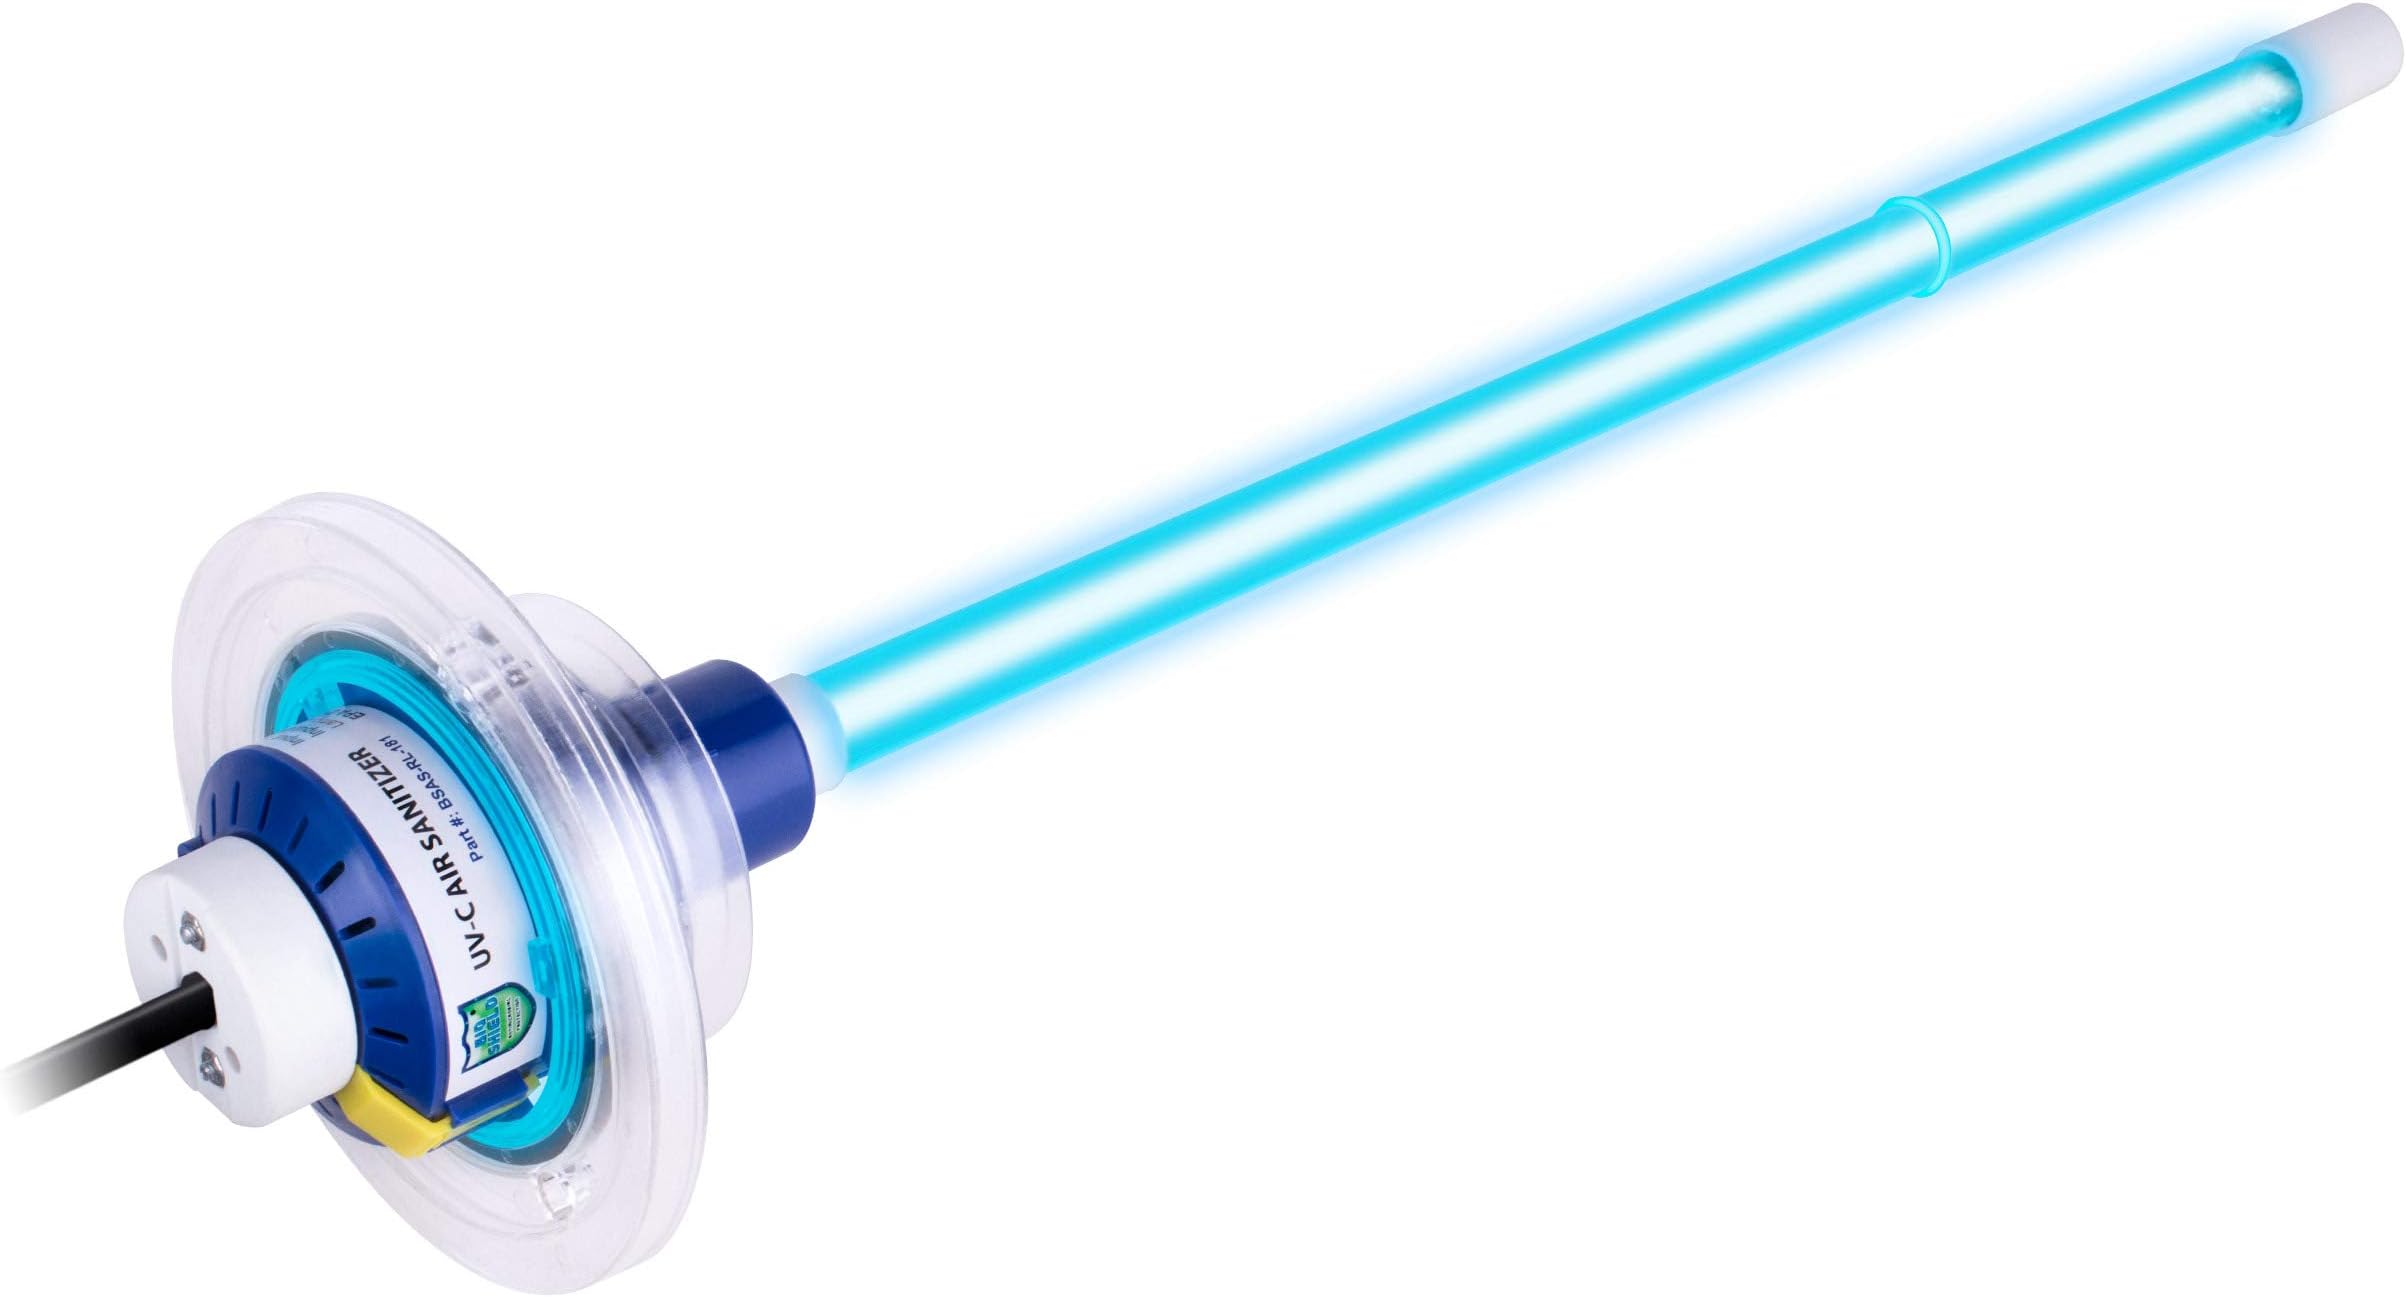
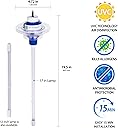
The Bio Shield UV-C Light is a powerful, energy-efficient germicidal lamp designed to sanitize HVAC systems by eliminating mold, bacteria, and bio-film buildup on coils and ducts. Easy to install with DIY instructions, it continuously improves air quality and HVAC performance while reducing costly maintenance and energy consumption.


| Additional Features | UV-C Light |
| Brand | Bio Shield Antimicrobial Protection |
| Bulb Base | E26 |
| Bulb Shape Size | T7 |
| Color | Blue |
| Item Weight | 16 ounces |
| Light Type | CFL |
| Material Type | Glass |
| Package Quantity | 1 |
| Shape | Tubular(T) |
| Special Feature | UV-C Light |
| Specification Met | UV-C air sanitization standards |
| Style Name | 1 Count (Pack of 1) |
| Unit Count | 1 Count |
| Wattage | 20 watts |
S**!
Excellent Design and Easy Install
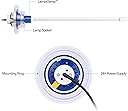
Only time will tell if these truly benefit our air quality in the long run, and I'll update my review in a year or so, but based on the quality of construction and ease of installation, assuming they do what they say, I give them 5 stars. I purchased 3 and installed 2 in my main unit and the 3rd one in my secondary unit. It was very easy to install if you just put it in the outlet plenum. I've had them in for about a week and noticed the air does smell cleaner, and I have less trouble with wheezing. I did A/C work for several years when I was younger, so I had a bit of an advantage, but as long as you don't drill into the main body of the A/C unit, you should be fine, so sticking it in the return or outlet plenum boxes should be fine as these are usually just big empty (usually aluminum) boxes where the ducts connect to the main unit. But make sure you know for certain there is nothing where you are drilling. As you open the hole up, be careful not to let the drill drive into the unit, and you can cut back the insulation with a knife and shine a flash light inside to be sure. Even if you are careful, you still run the risk of the guide bit (center bit in the hole saw bit) drilling through something on the inside without knowing it. If you feel any pushback or pressure, stop drilling and look. In my case, the return comes directly into the unit and is about 2 inches from the coil, so I don't have a return plenum. I had to do a bit extra work to install so that the light is shining between the A frame coil and the return duct. Basically, I just took the panels off the side, then took the outer panel off the coil, measured the location that had plenty of empty space around it in the center of the coil, put all the panels back on, then drilled through them with the provided bit. I only had to drill through the side of the A/C unit and the outer panel on the coil with the large hole saw and drilled a smaller hole, just big enough for the light rod through the inner coil panel. Again, The sticker template that came with it had clear instructions. All hardware was just as advertised and it included an extra screw which may seem small, but I consider it a good sign of quality control. As for the device itself, it's sturdy, was easy to install the bulb, and they engineered it with easy installation in mind. You simply drill the hole, place the outer plastic ring in the hole and screw it down, then install the bulb into the socket, insert the bulb and socket through the ring, and twist it to install. Then, when you twist on the power adapter for power, it covers that small yellow latch which prevents you from being able to pull the light out while it is plugged in (which is a nice safety feature since you shouldn't look at or feel the light). Again, I find this to be a nice touch by the designers. Ignore the review about exposed electrodes. I'm an electrical engineer, and there is nothing dangerous about this device if you install it correctly. The only thing damaging would be exposing the light to your body. Overall, I'm so impressed with the design that I'm satisfied with the money I spent on it, even if it has a minimal impact on my getting sick, though obviously I hope it will help our sick trends.
D**Y
which cut through the metal siding like butter. So far
I have installed 3 of these units and just ordered another one. During the past year, I have been dealing with mold issues throughout my house which stemmed from several leaks, one sudden and several from improperly installed J-Channels for vinyl siding.... missing flashing to push water into my gutters and a leaking chimney cap, all of which resulted in my houses studs and especially OSB getting soaked and mold infested. Unfortunately, I later discovered several hundred square feet of molded OSB in my chimney (builders never wrapped the OSB with Tyvek or other water barrier material)/(see attached photos), which after professional testing, turned out to be Asper nigra (black mold). I tried spraying Concrobium and other agents everywhere to no avail, had my ducts cleaned and sterilized, which helped, but my system was becoming reinfected. Then I isolated the molded areas and removed ALL material.....only then did things improve. I initially installed 3 units: 1) Underneath my AC A-Coil; 2) In Supply Plenum directly over the electric heating elements; 3) In Return Plenum, directly over the chamber where the filter is inserted (to zap any dust that collects); and I intend to install this one; 4) Over the A-Coil and directly underneath the forced air blower. The first install was a bit tricky as I used an ordinary cordless drill and later used an impact drill, which cut through the metal siding like butter. So far, my system is 99% plus Mold/Bacteria FREE and smells great. I still add cleansing tablets to the A-Coil drip pan, but other than that, do nothing. The only drawback is that the Bio-Shield lamp underneath my A-Coil shines directly on the 16x20x1 Merv 8 filters I use and fries them quickly, and I mean QUICKLY....the light definitely has a negative effect on anything paper/cotton/fibrous or plastic. So, I am using Merv 8 filters with built in Carbon fibers, which counteract the UV-C lights effects. When I install the new light under the blower, I intend to wrap all power cords/wiring in reflective 3M foil or other UV-C reflective material. Overall I am extremely pleased with this product. It is extremely easy to install (just make sure your hole is exactly where you want it if drilling through metal casing) and hassle free....AND most importantly, is keeping the A-Coil, drain pan, heating elements and other parts of the system clean......I would NOT recommend installing these lights anywhere in the Supply/Return ducts where the light does not hit parts of your HVAC system and the light will NOT work effectively on moving air.....these lamps are FOR sterilizing stagnant air and most importantly, the parts which can get mold/mildew/bacteria.....UV-C light takes several minutes, if not 10-20 minutes, to be effective on surfaces. If you keep these parts clean and your ducts are clean and metal lined AND dry, you will never deal with this crud again. PS....I also installed a plain UV-C bulb over the drain next to my water heater/water softener and replaced the plastic grate with a metal one.....I used to pour baking soda then Distilled White Vinegar every 3 months to keep 'odors' at bay, but so far the $10 bulb and cheap clip lamp seems to be doing all this for me.
T**R
A lengthy review but worth the read.
When I purchased this unit I really wasn't expecting it to be a miracle worker and to make any major differences in the quality of air in the house. After installing it and letting it do its thing for a month now I can say it's mildly noticeable. But where it's really shining is keeping that weird smell from running the A/C all day used to create since I installed it in an "advanced installation" right above the A coil. So that alone made it worth it to me. What ultimately led to my decision to purchase this unit wasn't the claims of cure all UV magic the sales department typed on the box or description; it was the fact it came with very clear instructions, there was a how to video online, the kit is incredibly simple, and most of all it comes with the hole saw needed. The included hole saw is a quality piece that I ended up putting it in my drill kit. When it came to installing the unit, all went well and I only have a few pointers to share. Drill a small pilot hole for the hole saw, the bit on the hole saw was walking when I tried it on the metal duct. Next, you may want to have a magnet on an extendable stick to retrieve the piece the hole saw cuts out if you are doing an install above the A coil. It probably wouldn't hurt anything, but I didn't want it rattle around or fall into the blower and make a bunch of noise. Lastly, the instructions say to take a hammer and a nail to make a pilot for the mounting screws then tighten with a screw driver; no, just no, don't even bother. I used a 3/32 drill bit to make a pilot hole and a Philips bit to tighten the screws down with a drill; careful not to crack the mounting plate. The included screws are the self drilling kind so I guess if you didn't want to make pilot holes, you wouldn't have to, it just makes it easier. A little technical info for those who are interested. The actual light ballast is 24V AC/DC and the wall wart is a simple 120VAC to 24VAC that supplies 1 amp on the secondary side. When it comes to energy wasted as heat, the ballast doesn't get all that warm but the wall wart does get kind of warm which is to be expected from a mostly sealed transformer running at nearly 100% of its rating, not a real issue at all. Overall, I am satisfied with what I got for the price and is performance. If you're on the fence about this unit and know what to expect from an air handler UV lamp system, go for it because I don't think you're going to find anything any better for around the same price.
R**6
Works well and includes ALL parts needed for installation (UPDATED)
Super easy to install, and includes ALL parts that you need . . . EVEN the Hole Saw is included. It's been running for 6 months without an issue now . . . Can't ask for anything more for the price, and significantly cheaper and higher quality than the other brands sold by my local AC duct cleaning crews. Update on 06/06/2018: I'm not changing my Star review (yet), but my Bio-Shield failed in my big/main AC unit in my attic. The holder for the lamp melted where the electrical contacts are (thankfully there was no fire issue, because most of the holder is ok). However, the customer services from Joneca, so far, has been outstanding and that's why I'm not changing my Star review! I submitted my info. easily in their online contact form, and they called me back almost immediately (same day). Then they immediately shipped me out a replacement after simply sending proof of purchase from Amazon. So, I'm waiting to receive the replacement, and will definitely update my review based on the performance of the replacement. I'll be keeping a closer eye on this one for risk of fire and/or failure.
A**R
Got rid of my AC odor!
Two summers ago our central AC started smelling musty whenever it kicked on. Doing some research I found this is called "dirty sock syndrome". Generally caused by dirty coils. Well I tried, bleach, simple green and foaming coil cleaner all at different times trying to get rid of the odor. Nothing worked. Then winter came and the smell was gone while running the heat. That is until sometime between spring and summer of this year (2016) when it again returned. Determined "again" to rid my AC of that horrible smell, I ran across this device and decided for $100 it was worth a shot. Installation was easy with the provided template, and the hole saw is amazingly high quality. I plan to keep it for other odd jobs. I didnt have an outlet near by so I ran an outlet from the hall smoke detector about 4ft away inside the attic. Now I have an outlet in the attic which is nice, and I can plug the transformer of BioShield into it as well. Results: It seemed to improve the smell instantly, although I could still smell it every so often. I wasn't instantly amazed but I remained optimistic. And within about a week, maybe two the smell was completely gone. Several months later it still hasn't returned and the air seems so fresh. I installed it above the coils, I debated on installing it below the coils instead and after a few days I debated on moving it lower into the filter box, but UV light can be dangerous and with a toddler I didn't know if he would be able to go to the vent and stare at the light through the filter. So I opted to keep it higher up with no chance of young eyes staring at it. In any case the original location turned out to work great and the smell is gone so I couldn't be happier.
M**L
Nice concept for a germicidal light in an HVAC system!
The Bio-Shield UV-C Germicidal Light unit is a nice little setup to install in your HVAC duct. The fact that it comes with a 2-7/8” hole saw is a major plus. I would not call it a 10 minute installation, but it is pretty quick, once you saw the hole through the the air duct. Make sure that your duct is deep enough for the 18” fluorescent tube and follow directions, as you don’t want to damage your HVAC coils or wiring. Between the Nu Calgon odor block and this light, I’ve pretty much eradicated the dirty sock syndrome odor that I was starting to smell during the defrost and cooling cycle on my three year old Lennox Heat Pump system. I did opt for a different replacement backup bulb, due to the previous reviews and found the exact manufacturer’s part number, without the clear shrink sleeve, for a fraction of the price. The included picture shows the included Bio-Shield” bulb. Update (05/07/21): I have now ordered a “backup” system, although the original unit is still functional. The bulbs last less than a year and you’ll notice them dim in intensity, requiring replacement. My complaint is the shipping method by Amazon. The first replacement unit was damaged (UV-C tube broken, with the power supply electrical prongs penetrating through the box) and contents of the second replacement box were rattling around with broken partitions in the box. I just got lucky, as it worked when I tested it. The “original” unit, purchased through Amazon, was overpacked properly, but now these units are just being wrapped in a plastic bag, which offers absolutely no protection. Come on Amazon, “get your act together”.
J**Y
Bio-Shield UV-C Light
Bought and installed..... INSTALLATION BEWARE !!!! #1 Question: Does the plastic wrap stay on the bulb? YES, per manufacturer. I sent an email. It is there as a safety feature, if the glass tube should break, it will contain the glass. No problem if you took it off, it will still work, you'll just have glass everywhere to clean up. #2: Pertaining to those who said bulb didn't work... it may be a little tricky, but you have to push all 4 pins into all 4 holes until it seats firmly, and then tighten the blue collar snug to hold it in place. If you only seat it halfway, and or don't snug the collar, it can pop back out. #3: Install light in the Intake plenum (the big duct after the air filter, leading into the air handler), or the coils? Either. Coils is better... UNLESS you have a plastic drip pan that is not UV protected... it can break it down in 3-5 years. ( We are talking about the internal pan under the coils, not the external pan under the air handler). The directions state install in the intake duct or plenum.. because for most people, that would be easiest. On mine.... I took the side panel off my handler, there was a plastic pan under the coils. Not knowing if it was UV resistant or not, I noticed just past the coils, the pan ended and it was metal. I mounted it there... the coils will still get some UV light there, won't be as direct, but I won't have to worry about the pan de-grading. The hole saw that came with the light did the trick for mounting through the side panel of the handler. ( Lay the panel metal side upon a 1/2 pine board, push down firmly to compress the insulation while you drill for a cleaner cut through the fiberglass). I have an attic light at the air handler... installed a dual plug socket in it, used an extension cord for plugging it in. (The wall adapter is big and heavy, just left it laying on the air handler. I went online and registered it, and signed up for the yearly email to replace the bulb. All was good, installation we good.
D**T
Awesome kit that made my house project simple for once!
This had to have been one of the easiest house projects that I have had to do in a while! This is the one to buy. This is a really well thought out kit that allows you to do the installation in like 10 minutes. It has a round mounting system adapter that allows it to be mounted in the hole that you make on the duct work that makes things foolproof and allows you to change the bulb without removing any fasteners... Brilliant! They even give you the hole saw with the kit sweet! The other models are just fixtures that hold a bulb that you have to unscrew stuff to change the bulb... this thing is a well thought-out system that makes it easy to change the bulb. The pictures of the product on Amazon don't do it justice. Also, you leave the plastic on the supplied Phillips bulb, it protects the bulb and holds wires that run down the bulb. No where does Phillips or the manufacturer of this kit tell you to take the plastic off, it's counter-intuitive. Also to the reviewer that said this is only for fibrous duct work, you don't understand how to read. They give you a piece of extra sheet metal if you are mounting this unit in ductwork that is not made of sheet metal. If mounting in sheet metal just drill a hole with the supplied home saw and you are in business in no time.
Trustpilot
2 months ago
3 weeks ago