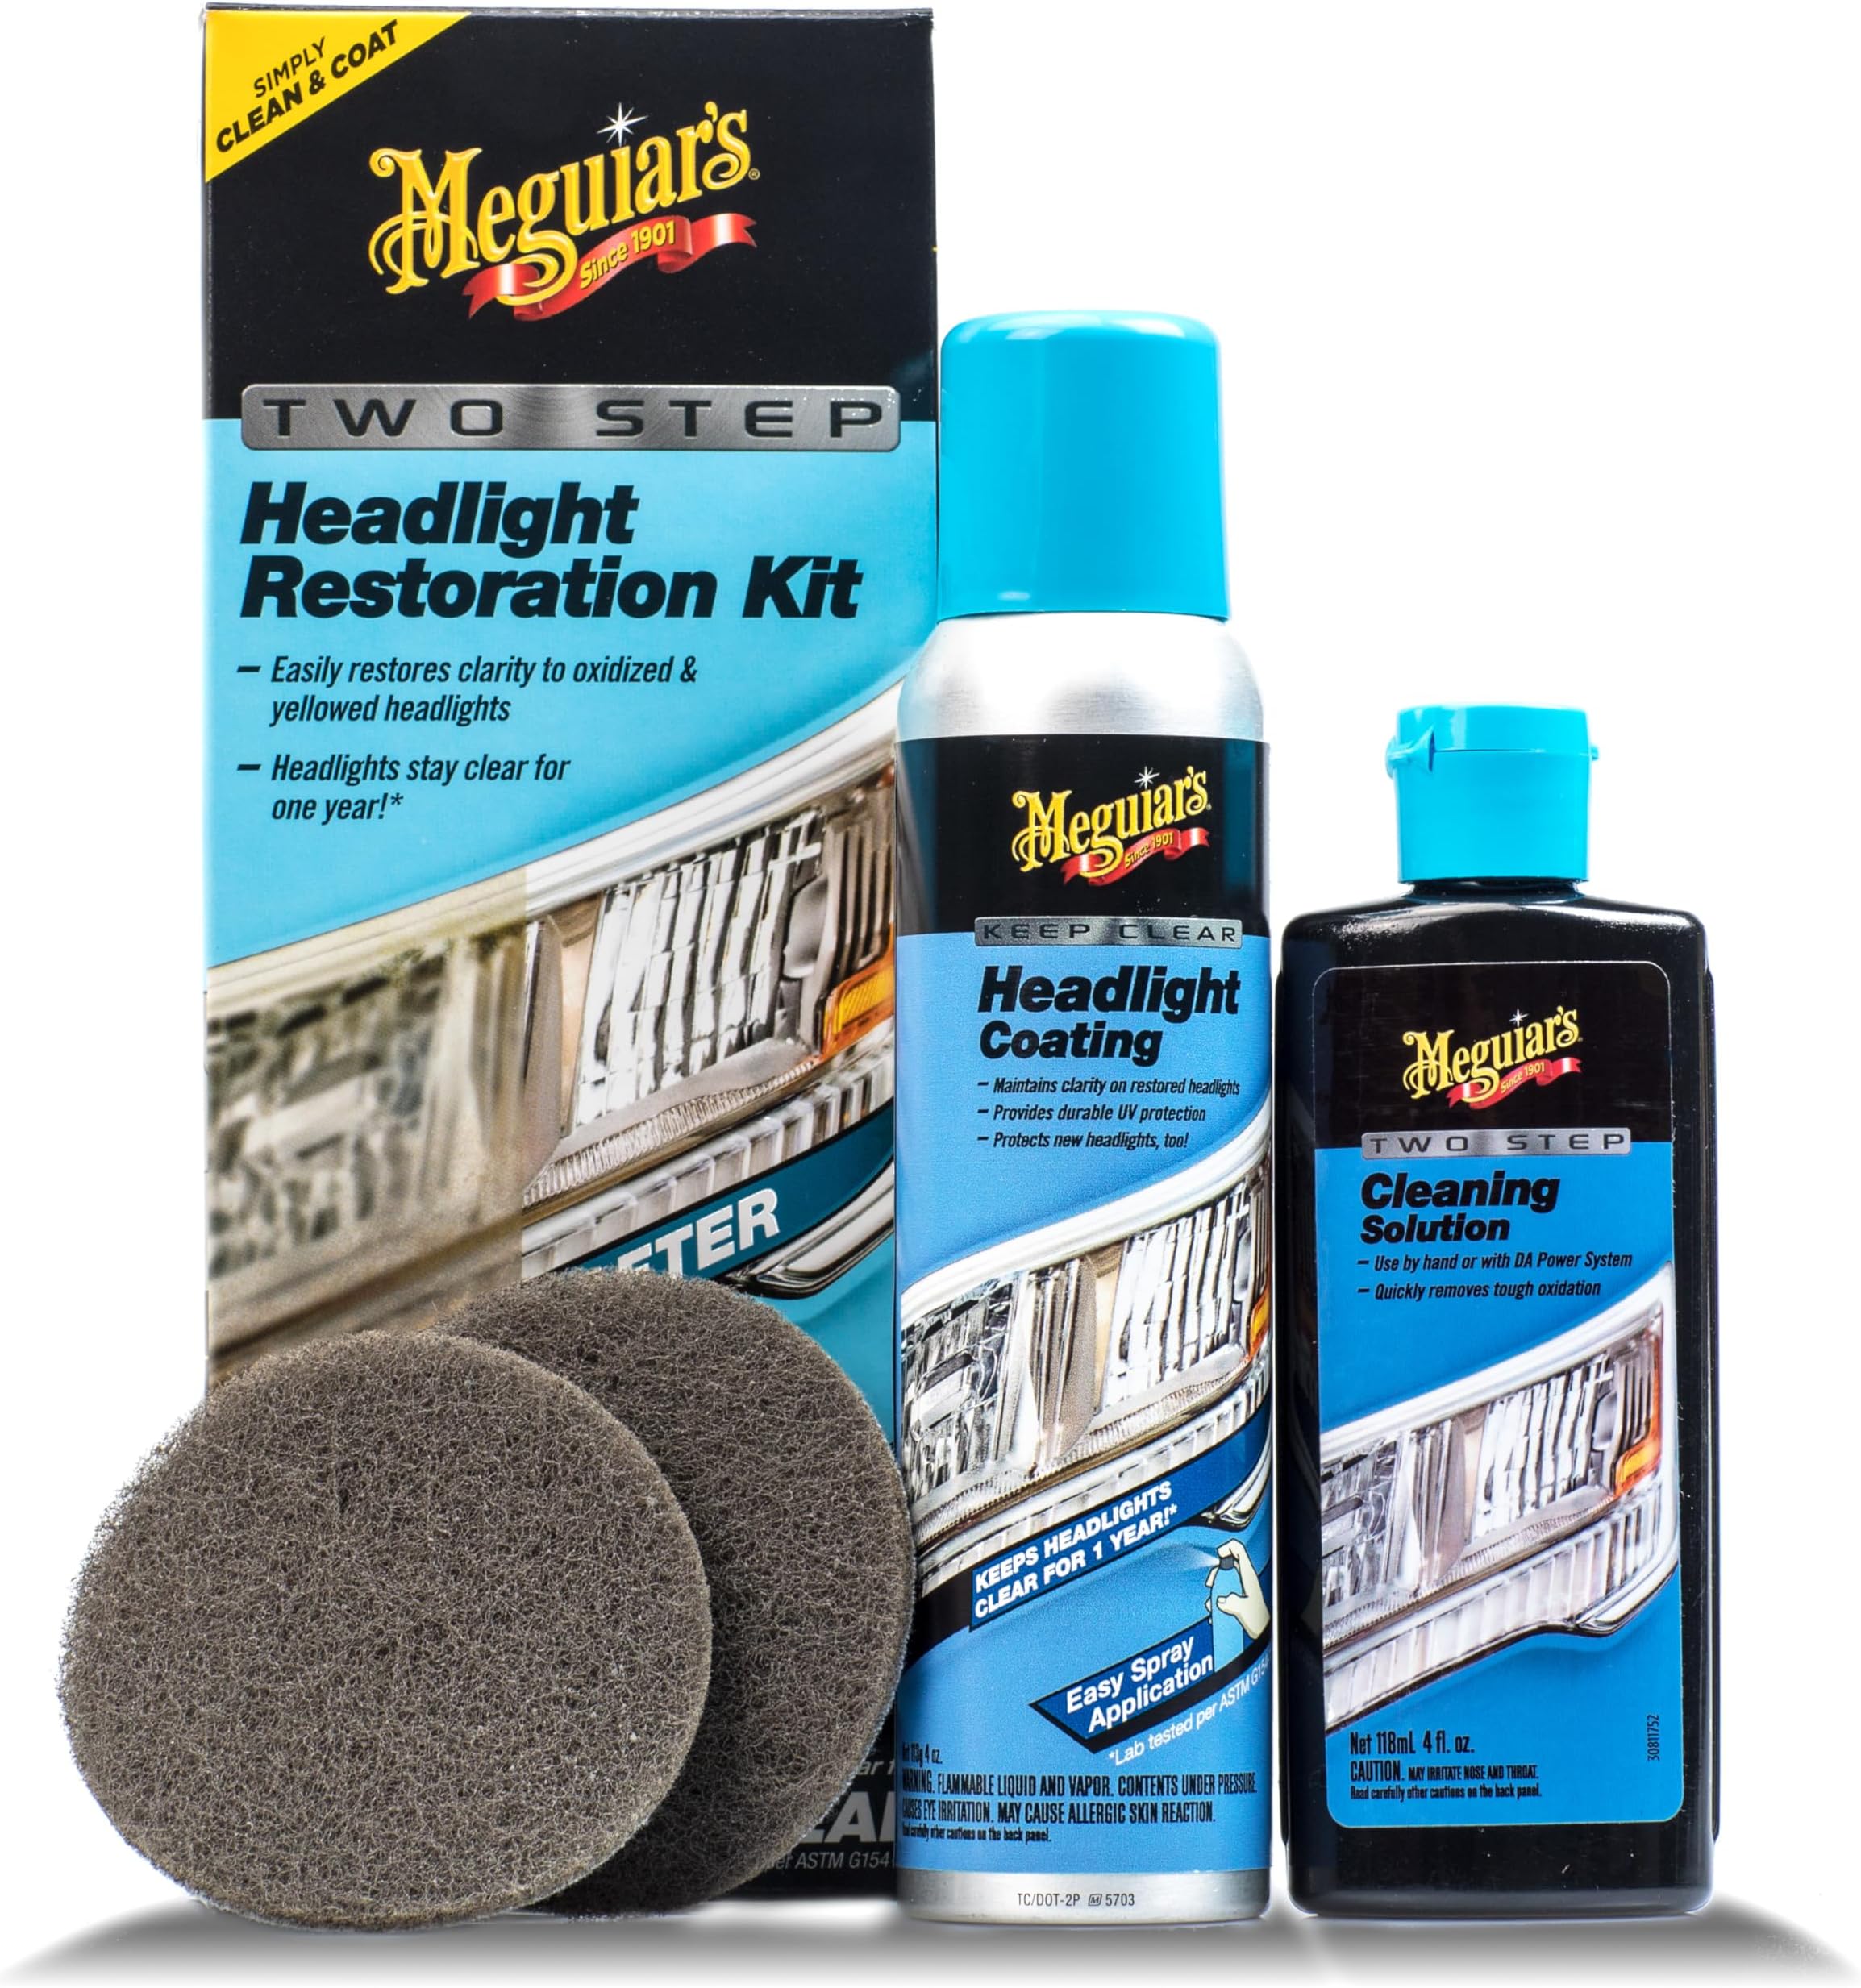
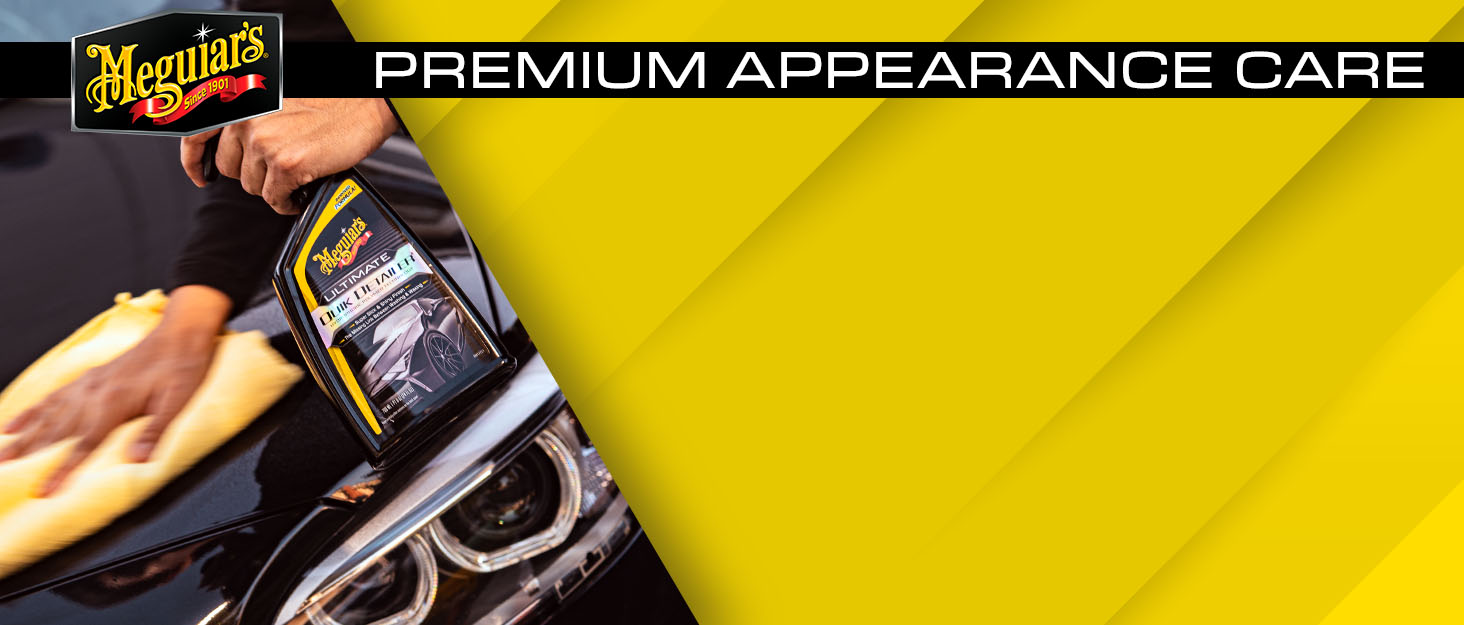
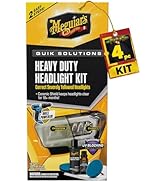
Description
✨ Restore brilliance, drive safer, shine longer! 🛡️
- TRUSTED LEGACY BRAND - Backed by 125 years of automotive care innovation and quality.
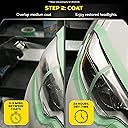
- DIY PROFESSIONAL RESULTS - Achieve expert-grade clarity with included cleaning and coating solutions.
- ENHANCED NIGHTTIME SAFETY - Restores crystal-clear headlights for improved visibility after dark.
- YEAR LONG HEADLIGHT CLARITY - Protects against re-oxidation for up to 12 months of brilliance.
- EFFORTLESS 2 STEP RESTORATION - Quickly removes oxidation & yellowing without drills or sanding.
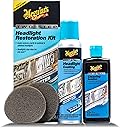
Meguiar's Two Step Car Headlight Restoration Kit offers a simple, drill-free solution to remove oxidation and yellowing from headlights. Using a cleaning solution and protective coating, it restores clarity and provides up to 12 months of protection against re-oxidation, enhancing both vehicle aesthetics and nighttime driving safety.