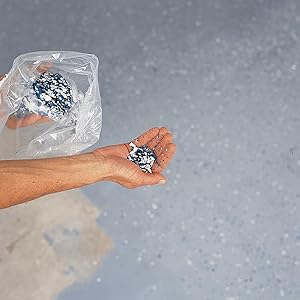
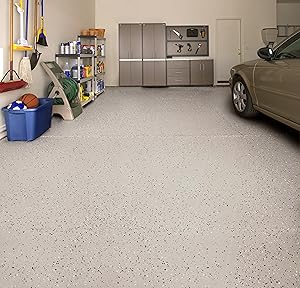
Desertcart purchases this item on your behalf and handles shipping, customs, and support to Panama.
✨ Transform your garage into a glossy fortress of durability! 🏆
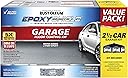
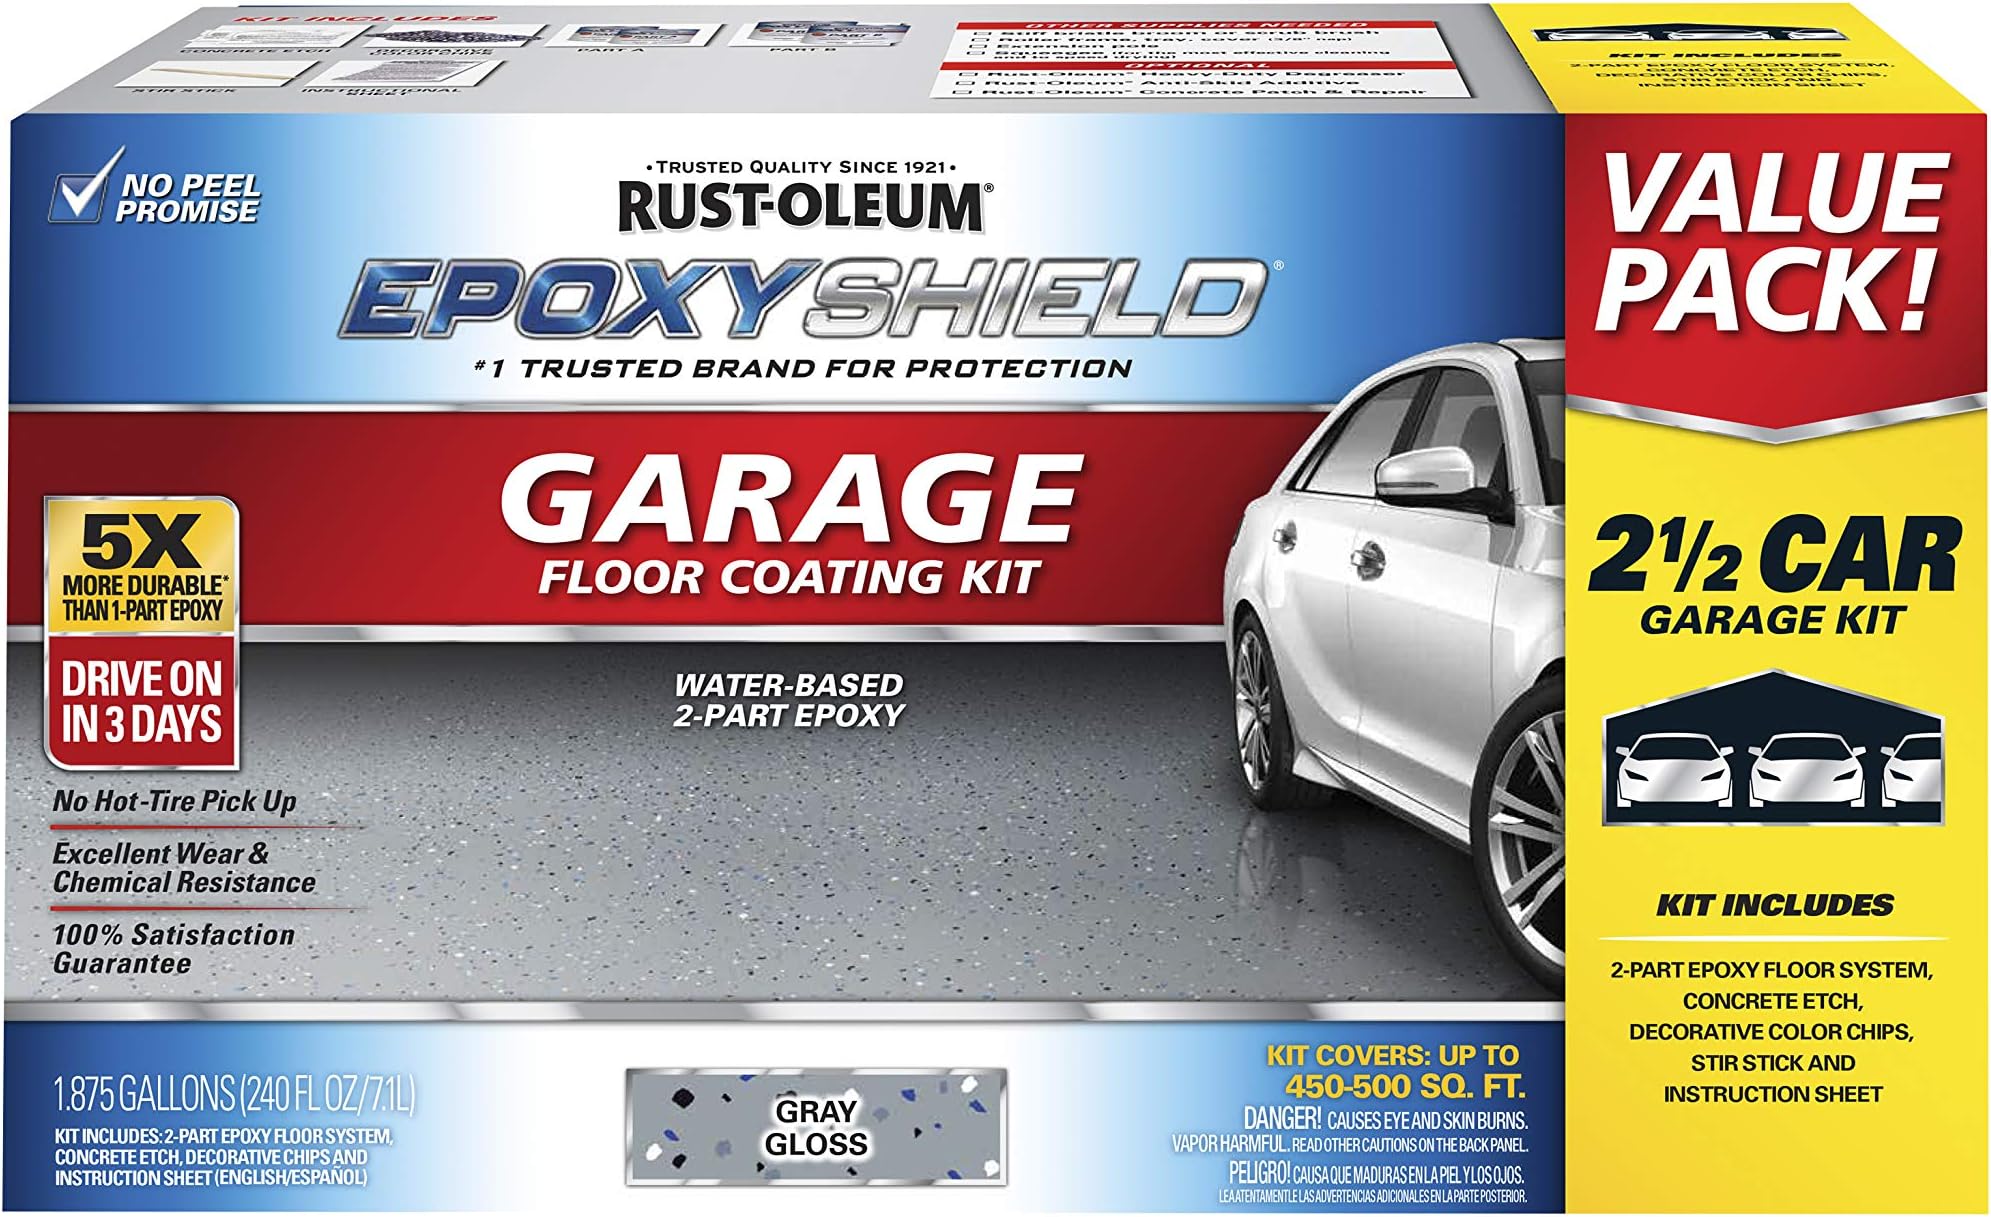
Rust-Oleum 261845 EPOXYSHIELD Garage Floor Coating Kit offers a professional-grade, 2-part epoxy formula that creates a high-gloss, ultra-durable finish 5X harder than standard epoxy paints. Designed for interior concrete floors, it is walk-on ready in 24 hours and vehicle-ready in 3 days, providing superior resistance to chemicals and hot tire pickup. The low odor, low VOC coating ensures a showroom shine while protecting your garage floor for years.


| ASIN | B006ZUZ9QE |
| Age Range Description | Adult |
| Best Sellers Rank | #22,561 in Industrial & Scientific ( See Top 100 in Industrial & Scientific ) #25 in Industrial Coatings |
| Brand | Rust-Oleum |
| Brand Name | Rust-Oleum |
| Color | Gray |
| Container Type | Packet |
| Coverage | 100 |
| Customer Reviews | 4.5 out of 5 stars 1,057 Reviews |
| Finish Type | High-Gloss |
| Full Cure Time | 24 hours |
| Global Trade Identification Number | 00020066210991 |
| Indoor Outdoor Usage | Indoor |
| Item Type Name | Garage Floor Coating |
| Item Volume | 2 gallons |
| Manufacturer | Rust-Oleum |
| Model Name | EPOXYSHIELD |
| Model Number | 261845 |
| Paint Type | Oil |
| Part Number | 261845 |
| Size | 240 Fl Oz (Pack of 1) |
| Special Feature | Low Odor |
| Special Features | Low Odor |
| Specific Uses For Product | Floor |
| Surface Recommendation | Floors |
| UPC | 020066210991 |
| Unit Count | 240 Fluid Ounces |
| Warranty Description | Satisfaction Guaranteed |
| Water Resistance Level | Water Resistant |
M**R
Beautify your garage!
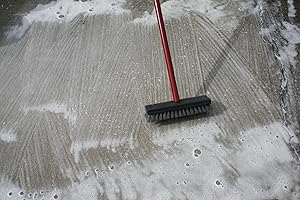
OK, the process is finally done on our 2 1/2 plus 1 garage and we love the outcome. It came out great and I want to tell you the full story. Yes, using this product you will save a lot of money versus calling a professional and yes, it is easy to apply with caveats that I will spell out for you and yes the kit does cover 2 1/2 standard garages. First, do not believe that you can apply this and be back in your garage in 3 days; second, it comes out better with the clear over coat; third, make sure you watch some YouTube videos on the process so you know what to expect. Now for the details: 1) You must clean your garage floor thoroughly before application. The etch product is included with the kit however if your floor is oily, greasy, painted, or otherwise stained, you will need additional products to clean it first. My garage floor was new so not stained however the builder did spill something on the floor that water beaded on so I knew I had to strip that prior to application. The epoxy actually bonds with the concrete so anything that prevents bonding will cause the finish to peel later. Clean, clean, and clean again! I pressure washed first, used the provided etching, then bought additional products as necessary and repeated the process until I was satisfied the floor was clean. You will need a squeegee and a stiff floor broom for this process. 2) After cleaning, wait 3 days for the floor to dry thoroughly, longer if it is very humid or you live in a damp area. If it is not dry, the epoxy will not bond with the concrete. The instructions say to tape a 2 x 2 piece of plastic to the floor for 3 days to test for moisture; DON'T DO THIS! I did it the first time and the adhesive from the tape left a residue that I then had to remove and reclean the floor again! The 3 day clock restarted. To help the drying process I ran a floor fan 24 hours a day for the 3 days which helped a lot. 3) Once the floor is dry, you can start the painting process. Pay attention to the instructions on painting time and temperature as this affects how long you can work with the paint. Only walk on the cleaned floor with clean shoes or socks to avoid any contamination. Use your blower to ensure there is no dust, dirt or bugs on the floor prior to painting. Mix the product as directed but I found that the color was consistent and did not need to mix the base paints first. Also, mixing is a PITA and very messy, losing precious paint. If you are painting the foundation walls too like I did, start here. This is tedious work and takes time so have help. Remember, once the epoxy is mixed in the paint, you are on the clock before the product becomes unusable (called pot time). It took us the full 2 hours to paint the 12" foundation walls, cut in along the wall/floor joint, and paint the floor which stretched the limit. Use a 12" or 14" roller if you can. I believe the instructions say paint in 4' x 4' sections but I found it easier to add the color chips, if you are using them, by painting a 2' x 8' section (it is easier to spred the color chips this way). Clean up tools with soap and water. 4) Color chips; we wanted more color than the base gray so we went very heavy on the chips. We actually bought 2 extra bags of chips for the 2 1/2 car garage (4 total bags used) and used both bags from the kit for the single car garage. After 3 days of drying, we used a shop vacuum to knock off any loose color chips before we used the clear coating sealer. 5) At this point elapsed time is a minimum of 7 days (unless you have to reclean like I did) and if you apply the clear sealer, which I highly recommend, it takes another 3 days of drying. So my floors look great and make the garage pop; only time will tell if it lasts.
J**A
Great End Result!
Did a lot of research and this is the most highly recommended without lift so I went for it. Did two garages. There are plenty of flakes. I was worried we would run out of paint so put it on too thin on the first garage and had to do a second coat. The square footage shown on the box is a generous single coat...I did up the wall about 12" also ... there is enough. Don't be afraid to put on a nice thick coat and then you only have to do a single coat. It has a great sheen... you don't need to buy an additional top gloss. The second coat made the garage floor look absolutely perfect since we did the first coat too thin. (Note: I had already sprinkled flakes lightly on the first coat because I didn't know we put it on too thin and I'd need a second coat. I was worried it wouldn't look good painted over the paint chips but because I did more chips on the second coat you really couldn't tell. Not ideal but just in case the same thing happens to you fyi you can paint over it!) I liked it better when I sprinkled more flakes compared to the other garage where we did less flakes. The single box I bought at home depot to do the second coat had a plastic pouch which made the job 1000 times less messy than the double kit which had cans. Its hard to mix the cans (part A and B) completely and I think it contributed to our first coat not looking the best. The pouch is SOOO easy and neat its a dream. They should make all kits this way and get rid of the cans! Make sure you etch the floor and rinse thoroughly and allow to dry for a few days before applying the paint and frog tape your edges. The prep work is the hardest part. If you plan to paint your upper walls do it before you do the floor. (Once you see the floor painted you may want to paint the walls too... that happened to us. It's way easier to paint the walls first so you don't have to tape, its ok if it drips, etc). By the time you get to painting the floor and sprinkling the paint chips its the rewarding (somewhat fun) part. You must sprinkle the floor chips immediately.... work in 4 foot by 4 foot sections and sprinkle right away. It's best to throw up in air in small handfuls. Dries quickly and they won't adhere well after about ten mins or so. Make sure you read the directions beforehand because there is a pot life (amount of time the paint is good for) depending on the temperature. Maximum is two hours so best to do with two people if possible and work fast. Also read about temperature requirements.. can't be colder than 55 degrees at night for two nights, etc. Def wait at least 3 full days to move stuff back in your garage. I'd wait longer if you can as it take a full three days for the paint to fully cure. I wouldn't drive on for a week. I did not add the grit... the flakes give it enough traction. All my paint kits (2 from amazon and one from home depot) were the same color and blended perfectly. Complete transformation and worth the effort... so much cleaner now. Highly recommend!! :) Update: Just did another small two car garage at a rental property that was previously painted and I only purchased a single garage pack because I thought I might be able to get away with that since it would not soak up as much pain as it would on a unpainted cement floor. I was right there was more than enough left over (I could have done a three car garage with a single pack) so if you are painting over an existing painted floor you don't need to purchase as much square footage also when I first wrote this review two years ago there were more than enough paint chips. I even threw some out. Although I was putting down slightly more chips on the floor I just painted we literally ran out when we had only completed a quarter of the garage . I'm not sure if they now don't give you as many chips as they used to but I would recommend buying an extra pack of the paint chips. You can always return them but it's a bummer when you're in the middle of your paint job to not have what you need because the pot life is so short you can't stop and run out and buy more.
A**R
Easy to apply and great looking
It's so awesome, turned my garage completely. In the end it looks totally professional grade. Make sure to mix it well before applying. Coverage is enough for two car garage of standard size. Also, i put epoxy on the side wall where dry wall board ends and 1 feet concrete wall starts. Decorative chips aren't enough if you want a good coverage, recommend to buy two extra packets of same color to give better coverage on chips. Otherwise it's a great product and easy to apply. Also make sure to not rush put it on the floor. Give yourself some time and thoroughly clean the garage with anti greasers and wash multiple times to make sure there is no dust on the floor. Also while you etch the floor make sure to fill any gaps or dividers on the floors as after etching it will be like you will have to clean the floor many times. I have also applies the cleat coat on the top which made it more good looking and rock solid. Just remember to clean all the tools after epoxy as that could easily stick on the tools and hard to remove and make the tool unusable for clear coat. (Paint brush, buckets, rollers etc.)
A**K
Outstand results, so far!
Okay. So I have been putting this off for a while and going back and forth on which product to use. Finally I decided on the Epoxyshield over the Rocksolid...mainly because of cost and coverage. All of the reviews I read and watched about the Rocksolid seemed to say I would need double what there box claimed and the cost would have been at least 4x as much as the Epoxyshield. Day 1 Saturday. Moved everything out of the painting area. Fairly easy but for the safe. Blew out the garage and swept it up. Got there hose and wet everything down and pushed the water with a squeegee I purchased to the drain holes and outside. Now the 'fun' started. Mixed the etching material and scrubbed and scrubbed and scrubbed and rinsed and rinsed and rinsed for about 4 hours. Everyone says this is the most important part and I treated it that way. It was a pain and it was hard work. Set up fans and turned on the garage heater and went to bed. Day 2 Sunday. Blew the garage again and swept two more times. Mixed all of the color gallons into one 5-gallon bucket and then poured it all back into the gallon containers. (Side note, all of the containers were dented). Mixed all of the gallon containers with the part A and B and one package of the anti-skid and stirred for about 8 minutes each. Let them all sit for about 35 minutes as per the temperature chart instructions and started painting. Took about 1.5 hours to get the paint down and chips on the floor. Now, I will say that I was (still am) concerned as all four of the mixed gallons seemed like water as opposed to 'paint' or epoxy. However, I knew i had mixed it correctly and so I moved forward. I didn't so much 'paint' it on as I moved it around. I put very little/no pressure on the roller, so hopefully it is on thick enough. I was (still am) also concerned as my garage is about 720 sqft and I only used about 2 and 1/4 gallons of this, but there are no bare spots and I carefully made sure I applied it generously to the entire floor. In about 6 hours it was fairly hard. I know this because I apparently blew out the pilot light of the water heater with the blower when I was cleaning and needed to get that on for the night. As far as the 'easy of use'. Painting the floor is 5 stars cleaning the floor is 1 star. The end result is nothing short of professional looking. If it holds up I will be thrilled with the result. I will probably wait at least a week before I move the safe and refrigerator back in to make sure it is hard.
J**M
Great looking floor!
Great product. Third house I’ve done the epoxy on the garage floor and it was easy and looks great!
E**K
Looks great. I agree with all the folks that say ...
Just applied this to my garage floor 48 hours ago. Looks great. I agree with all the folks that say the prep is the most important part. I powerwashed twice to get off some 15 year old paint. The acid etching went well. I used a sprayer to apply it and scrubbed it with a broom. Make sure you wash the acid off with a lot of water. I did and I still ended up etching my driveway outside. The citric acid doesn't foam up on the cement like muriatic acid does in other kits. I was worried that my acid wasn't working since it wasn't foaming, but it did. They warn you in the instructions that if you are using multiple gallons of epoxy, to mix it all up at once b/c the tint could be different. That is true. I did one gallon at a time. I trimmed the garage on a Friday night and did the rest of the floor on Saturday. I now have a two toned garage with a dark trimmed edge and a lighter main floor. Not sure why they can't get the tint to match all of their kits. But it rolled on and applied well. I have a lot of pits on my old worn cement. I applied extra epoxy to these spots and now that it's dry, I see very few spots of old cement still peaking out. I didn't do a second coat as my wife is already in a tizzy about how long I'm keeping her minivan out of the garage. I love the paint flakes, you can't use too many. One complaint, they give the flakes in a plastic bag. How do they expect you to apply them? My dad recently epoxied his floor with a Valspar kit. His flakes came in a plastic container just like a parmesan cheese can with a bifold lid that flipped open with one large hole or three medium holes on the other side. Luckily he kept it and gave it to me to use which made spreading the flakes a breeze. So if you're going with this kit, save your next parmesan cheese container to make life easier. All in all I am pleased with the result. I'm hopeful for years of a beautiful floor with no peeling. If it does, I'll let you know.
G**N
Lots of Planning, Great Results!
Thanks so much to all for the instructions, especially Andrew Rickel! It took us a while to prepare for this with a lot of steps and tools we needed to get. We had two Painters and a Sprinkler; materials we used: *cement patch to cover some cracks (not the major divider lines, those need to stay to allow expansion/shrinking of cement floor) *cheapest 5 gal bucket *good large scrubber brush (for cleaning garage with degreaser/ etching) *water hose for rinsing garage (scrubber may help but we did well without it) *two quality roller naps + good roller base and long screw in handle for each *two cheap paint pans *several paint sticks (free at Home Depot paint counter) *FrogTape (for protecting walls around the the perimeter of the garage) *several wide brushes (for detailing side lip of the garage with epoxy) *clean parmesan cheese container for sprinkles *gloves and respiratory mask for everyone (most will hate to have this on, but epoxy is intense on the lungs!) *slippers/ratty clothes you don't care to ruin *cheap tarp to protect the floor in the house near garage door (we had to go in/out while prepping and managed to track some stuff in) *bring garage opener/ water with you *keep a trash bag outside (when you are done, you put all the used/disposable stuff in it right there) The kit contains two large metal containers with epoxy mix and two smaller containers with activator compound. We emptied out garage, cleaned the floor with degreaser and etcher, rinsed well, let dry, filled in random cracks. Covered the entire perimeter with paper tape at the wall-floor lip junction. On day X we used a 5 gal bucket to first mix both epoxy bases for an even color, then divided the uniform mix between the two containers. Since we had two Painters, we added the activator compound to each of the base, stirred, and waited a bit per instructions. Then three of us attacked the garage. First we went around the perimeter and covered the border with a brush. Then poured the epoxy in two paint pans, one person rolled per each side in small increments, starting from the far end of the garage, backing toward the garage door (cracked a bit for circulation); I sprinkled over the just painted areas. We worked fairly quickly. We worked our way out of the garage (brought garage opener), then once everything was covered, we put all the disposables in a large trash bag and put it in the dumpster, so we could walk in the house clean and be done. We used it for our smooth cement, fairly new garage floor in a 2,5 car garage. There was enough of mix, but just enough so. Someone here recommended to use a parmesan cheese container for sprinkling - great idea. Plenty of sprinkles created plenty of friction on the floor to prevent slipping. We live in Wilmington NC (high humidity), did our garage May 2017, and parked outside for about two weeks. Since then we have not had any issues with any damage to epoxy (no cracking, hot tire pick up, etc). The floor looks amazing!!!
A**Y
UPDATED If you want your epoxy to peel right up, this is the stuff for you!!!
UPDATE: Rustoleum customer service agreed the product was not performing as expected (there were several email exchanges and they requested photos) and have issued me a refund. I purchased this product for my garage floor. We followed the preparation instructions to the letter taking over a week to prep with multiple washings, two de-greasings, acid etch, performed the 12 hour moisture test overnight on several areas of the garage, no moisture showed. So far so good! Applied the epoxy as recommended. 48 hours before walking on it. 72 hours before any weight was placed on it (never put a car on it ). Three weeks after applying it we used blue painter's tape by 3M to mark where shelves should be placed. This tape went on primed, painted drywall, primed, painted wood and on the floor. Removing the tape from the painted walls and wood had no problem. Acrylic paint untouched. However, over and over the epoxy came right off the floor with the tape. This photo caught the moment we started to remove the tape with the epoxy on the tape. Disgusted and disappointed. Contacting Rust-o-leum tomorrow and we will see how that goes.
C**D
Impeccable!
À parfaitement repondu à mes attentes avec des instructions très claires. L’ajout de flocon supplémentaire requiert toutefois d’avantage de clear.
S**O
Worked as advertised
The main work is clearing the garage and preparing the concrete as directed. Application is easy. Make sure you mix the 2 parts thoroughly. After 6 months there has been no tire pull-ups of paint. $250 plus time as opposed to paying someone 2 to 3 thousand to do it. I’d say it’s a no brainer.
C**N
Beau résultat
Kit complet ça donne un très beau fini
S**D
Epoxy floor.
This item arrived later than I was hoping. I bought the same thing from local store for 30% less. I should have checked it locally first. You always think Amazon is the best deal but it is not specially on brand name items. I could not return it. Product was awesome actually it was more than enough for 21'x 21' garage and I had 15% left over. Make sure apply generous amount with your roller and throw the chips on it as soon as you finished each section rightaway. Prep work takes most of your time.
C**N
do as they say in the instuction
for me its a great product its not the first time I use it and the result are always super
Trustpilot
3 weeks ago
1 week ago