


🖋️ Type Boldly, Stand Out!
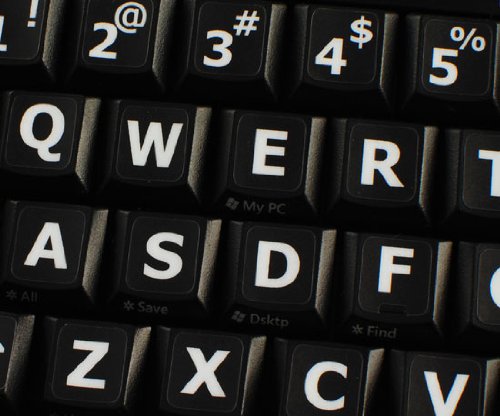
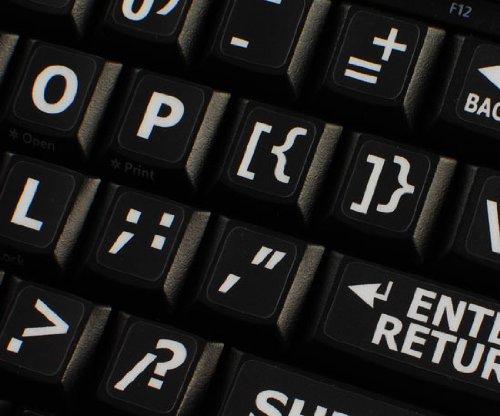
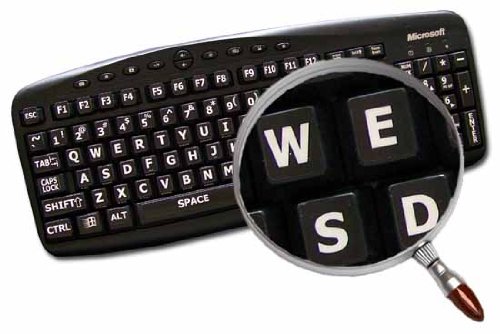
These English US Large Letters Keyboard Stickers feature high-quality, large uppercase letters on a sleek black background, designed for easy application on any computer or laptop keyboard. Perfect for enhancing visibility and style, they are durable and user-friendly.
P**K
Looks great - read my installation experience
These key covers are great, but there are a few tips that may improve your results. I think that a small sheet of instructions would have made the product better, but I'll do it instead.I'm so happy with my "new" keyboard, that I'm going to share what I've learned. I hope it will make a big difference in your satisfaction.First is the prep work.1. Turn off the computer. Yes, I know it's obvious.2. Get a bright work light over the keyboard. I used a high intensity desk light.3. Clean off the keys with isopropyl alchohol and a paper towel. Use a new part of the paper towel and wet the portion of the towel to be used for each row. Look at the heavily used keys after doing this and you will see some residue still there. Give those keys another workover until clean. The keys will be dry in a minute or so.Now the installation.1. Note the right and left sides of the new labels on the backer. Remove the framing around the labels on the right side of the keycap labels leaving the labels on the backer. This may require some work as some may still be fastened to the extra material you are removing. The reason you are removing the extra material first is that it makes removing the labels much easier. The reason you are doing the right side first is that there are more infrequently used keys on that side.2. Bend the backer paper beside each label and peel the label off. Do these uncommonly used keys first because you want to practice before applying the really important letter keys that are frequently used. If they're not perfect, you can carefully pull them back up and try again but get good enough and you won't have to do that often. Practice makes better, perhaps even perfect.3. Here's the best way I found to apply the labels. With the label stuck lightly to the tip of a finger, align the opposite side of the label with the edge of the key. The bright light will help you make the edge of the label and the edge of the key truly parallel. Also center the label vertically between the top and bottom of the key. Alignment is critical because if your fingers keep hitting the edge of a label, it will irritate you forever after. It took me about 45 minutes to do this and I'm glad I took my time. Again, if it turns out you got a label or two off enough to bother you when you type, carefully remove the label and re-apply it. I had to do this with the F key (lowered it) and it appears to have had no ill effects. Also, press the labels straight down without sideways pressure. If you do the latter, the labels may not be positioned to your liking.When you finish with the right side of the label sheet, use the same method on the left. You've had some practice and you'll be better now. But you still need to be patient or you'll screw up. Honest, if you hurry, you will make mistakes.Here are some other notes. Try not to have the label hang over the edge of the key. You will notice this later when you type and it will irritate you like it did me.The F and J home keys have a small cutout on the bottom for the ridges on the keys which helps you position your hands. Be especially careful in the placement of these labels. Keep them low or they'll hang over the top of the key and annoy you.All the labels will not fit your keys. That's because keyboard manufacturers are not required to make standard sized keys. So you can either trim off a bit with scissors or fold the label over the edge. I did both. We'll see if one is better than the other. I just did this earlier tonight so I can't comment yet on durability. If something comes up, I'll post an update.After you've applied all the labels, turn off the bright work light and turn on the lighting you normally use when typing. You'll be amazed at how good it looks. My keyboard is a black Dell AT101W. The key inscriptions were never very good and the commonly used keys rapidly turned invisible.With these labels, the keyboard is better than it was new. I love the result and, at $3.89 on Amazon, I recommend this product. I'm still amazed how good it looks.
B**H
Letters are big and bold!
My husband got a new computer, but the letters were a pale color on silver keys and were very difficult to see them. I ordered these stick on letters for him and now the keyboard is very easy to see all of the letters. I recommend this product!
K**.
Vinyl; highly visible under translucent keyboard protector; trimming needed to cover some laptop keys; letters are blocky though
- Note that these VINYL (not paper!) stickers are *not* described as being sized for laptops! They're specifically sized for older-style PC keyboards (there are different sets that are described as being for the Mac). So, I had to trim some, such as the F-keys, and the right "Shift" key in particular was a minor puzzle. But for the most part, they fit within the edges of the various keys. If you do trim them, use either a *very* sharp X-Acto blade, or sharp scissors. - The vinyl is about the weight of decent plain repositionable vinyl shelf liner (plain.solid is a bit lighter in weight than the prints). - To apply, I lifted then using a rounded-style X-Acto balde, and let them stick there to transfer each sticker to the correct key, and position it. - I would prefer to give this 4.5 stars, because the ONE thing I don't like much is that the letters are *very* blocky; for example, the Period and Semicolon look like squares, rather than like dots. So I'd really prefer if they were a wee bit rounded. But aside from that, they are perfect for my uses, as described below: - The major reason I bought these was to make the letters as visible as possible underneath the iBenko translucent silicone keyboard protector. I never got the hang of touch-typing, despite taking a course and practicing. And I need a bit more contrast now that I'm over 60 ;) THese are most definitely visible ;) - I specifically wanted white letters and the yellow, especially the fluorescent yellow!, were just too much for me. - Since my laptop is all black, and the stickers were mostly too large to fully cover the keys, I wanted the stickers with the black background. - I also wanted the letters etc. to be *centered*, not up in one corner. That's just my personal preference. - There are doubles for some keys to take various PC keyboard configurations into account. - Again, I use these underneath a "clear" (actually translucent...) silicone keyboard protector, so I can't comment about the "feel" except that I can't notice any difference under the silicone. Also, my fingertips are not all that sensitive any more, plus I have some callouses, so others would have to comment on whether the change in feel is bothersome. - Overall, then, aside from the letters being more blocky/square than I find ideal, I gave 5 stars because these meet all of my needs and criteria so well.
Trustpilot
1 month ago
2 weeks ago