


🏡 Your Ultimate Outdoor Companion!
Full description not available


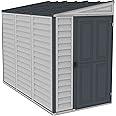
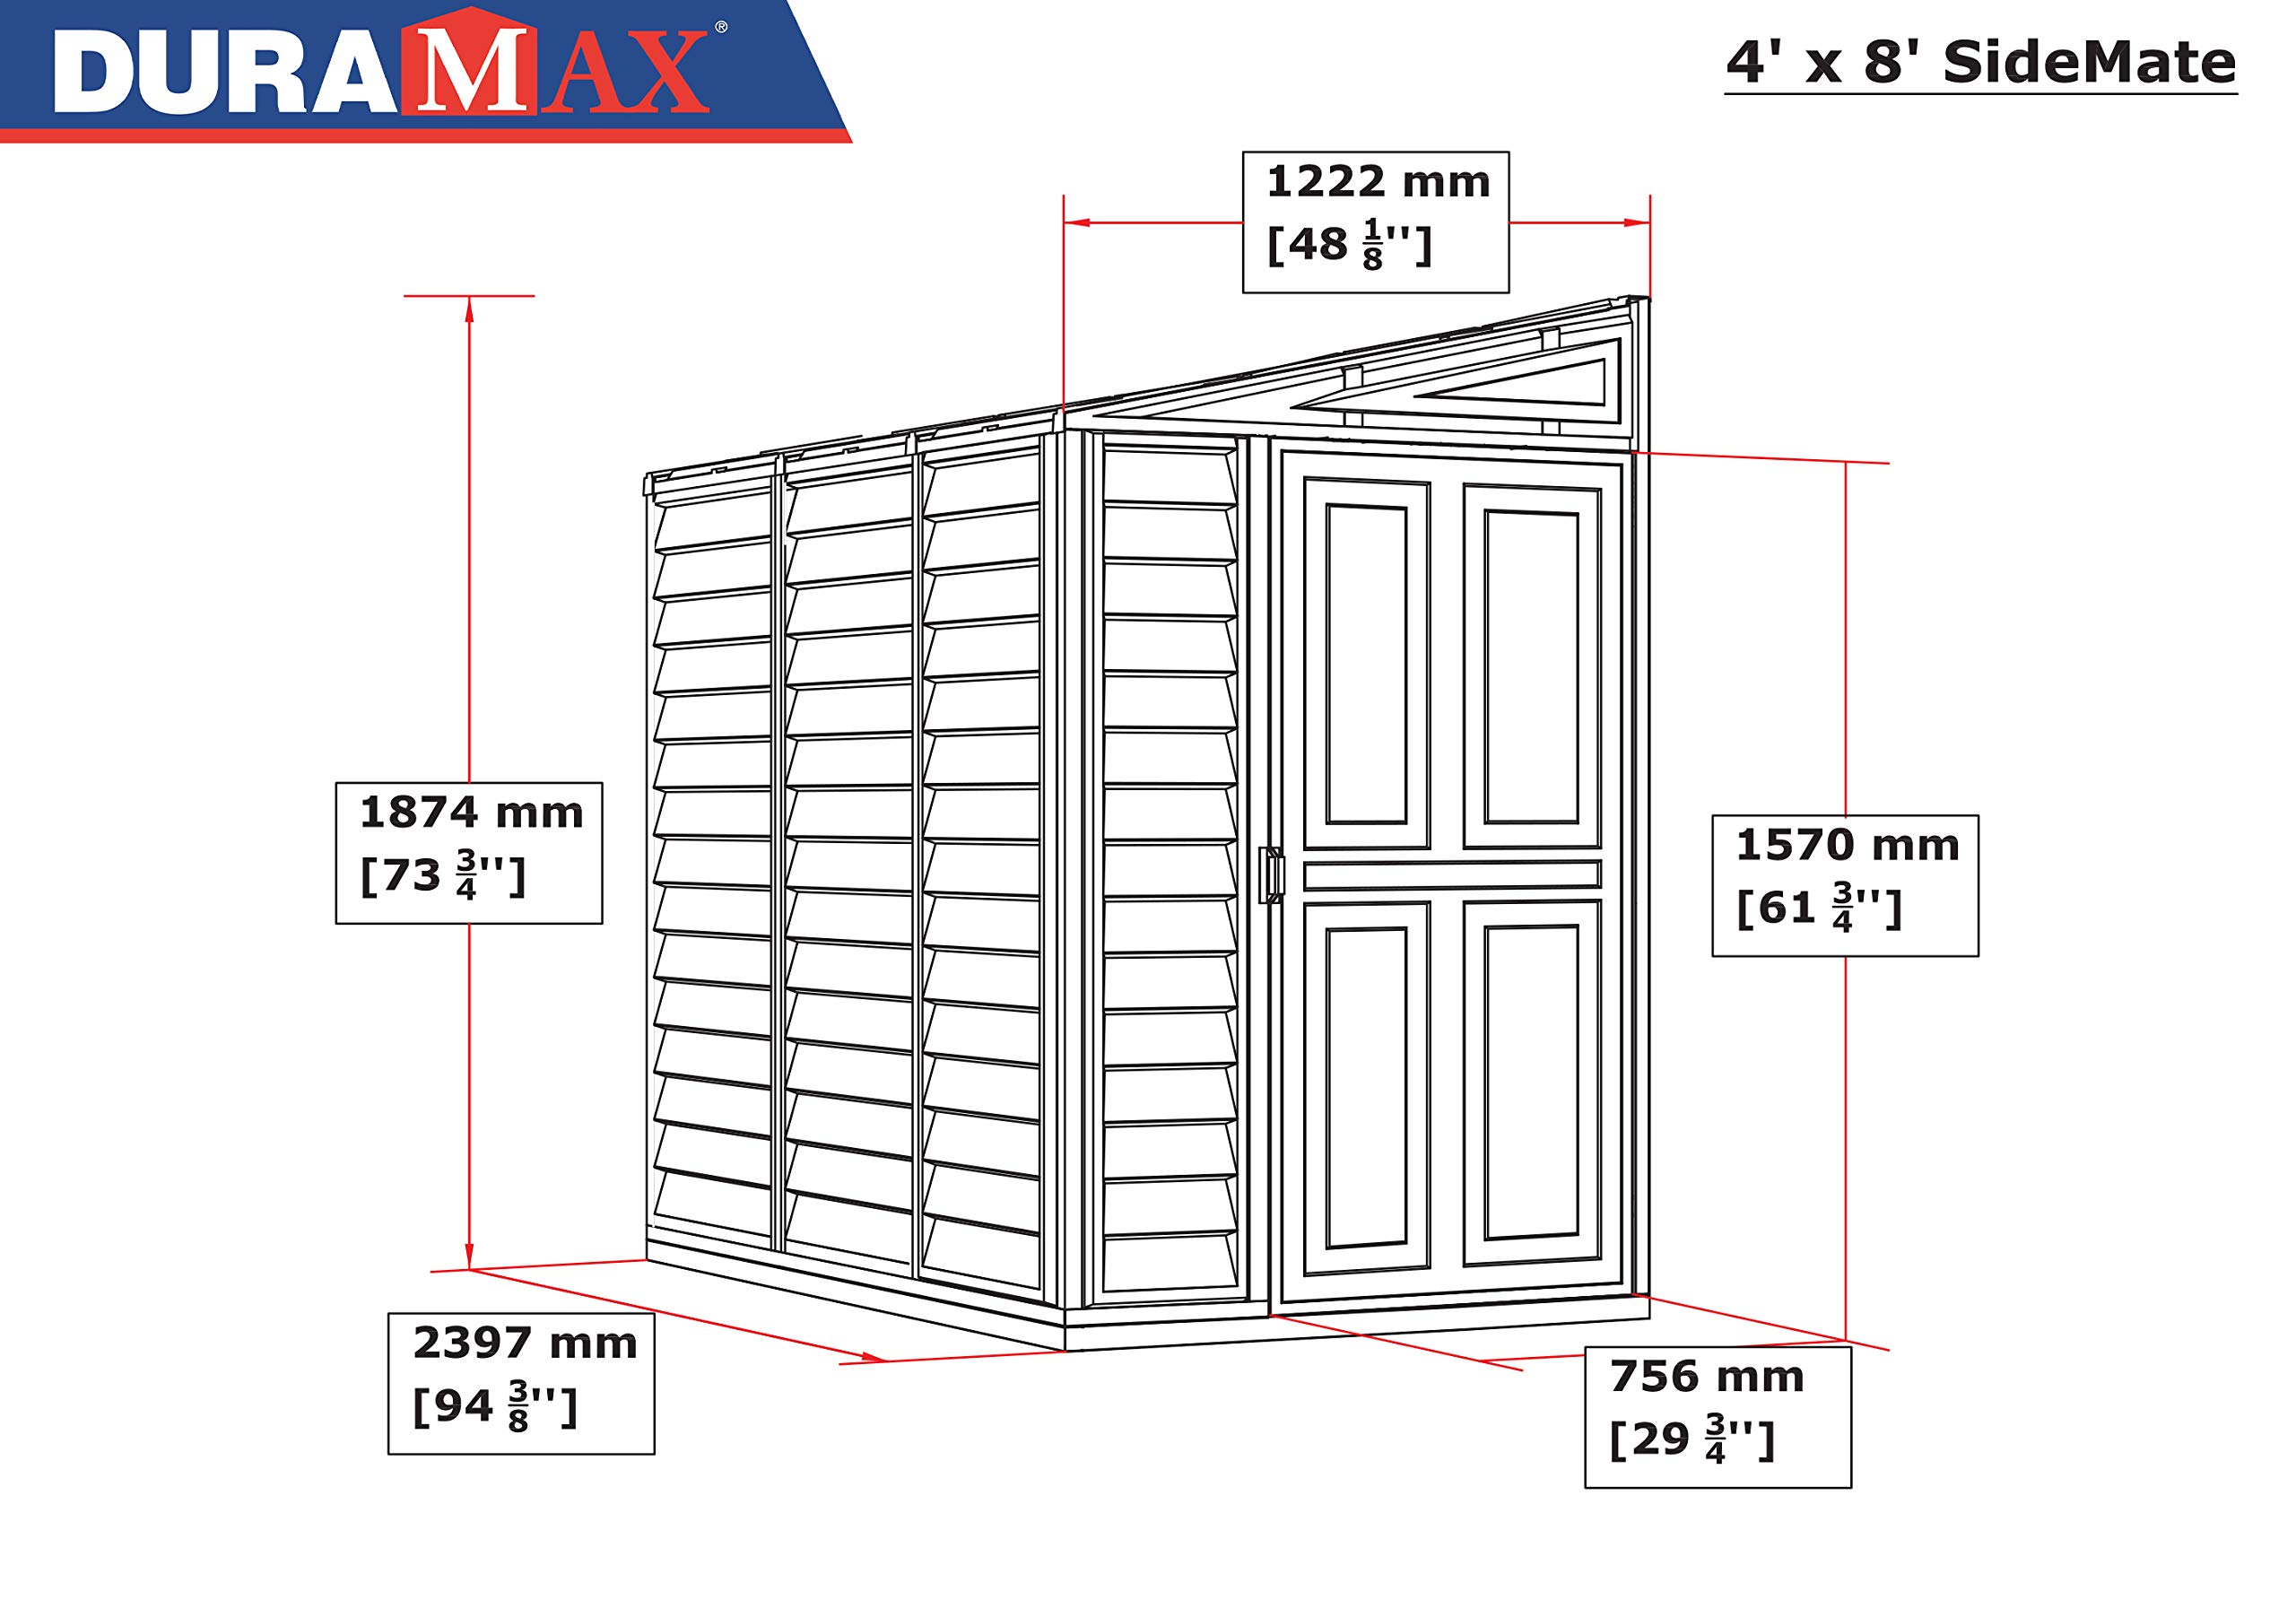
| Product Dimensions | 241.71 x 122.2 x 187.4 cm; 62 kg |
| Part number | 36625 |
| Material type | Plastic |
| Manufacturer | Duramax |
| Item model number | 36625 |
| ASIN | B0BMVF34F5 |
G**P
Good Looking Shed - Construction Takes Some Time.
Instructions are well laid out. Read them all before starting. You get two booklets - one for door left and one for door right opening. The assembly is all well documented with each item marked with a code to make it easy to fit together. All work can be done working from the inside - except the back right hand corner vertical. If space is tight around to back righthand corner, when working in this area its better to put the side panel up first with its corner vertical to allow you to screw up at the base. Before construction, you must have a level base else you will find fitting and meeting together parts difficult. I made a concrete base about 125mm thick. This ensures a flat level surface and prevents water ingress. When you do the roof, use mastic with each fixing plug. After construction, I laid a waterproof membrane over the base frame, making sure it overlapped the sides, then boarded the flooring over it to provide a level flooring. The shed is fully waterproof having been tested with the latest heavy downpours. You will need some help with the roof though - a person inside and outside to ensure correct alignment. Allow two days for construction. Looks good in its cream colour.
R**.
Once it's up it's good.
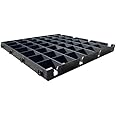
Like a lot of the other reviews, it's worth saying that assembly is a bit of a task.Saying the foundation kit is a bonus extra is a bit of an oversell, as it's practically a requirement, and I'd advise dropping boards into the gaps between the beams (measurements for these are in the manual) to get a flat floor. I have mine screwed to an 8ft x 4ft sheet of treated OSB, on a timber frame, on levelling legs, so it's good and square now it's up. I wouldn't want it on uneven slabs, so bear that in mind.I unfortunately had to assemble it single handed, so it took me several hours. I previously had a smaller Palram shed, which was also a one-me-job, and it was far less complex. The space this was going into was around 4ft6 wide, so the advice in the manual to have two feet clearance for assembly wasn't going to happen, and frankly if i didn't happen to have a very small ratchet screwdriver (see https://www.amazon.co.uk/Profile-Stubby-ratcheting-Screwdriver-ENGINEER/dp/B002L6HJ82 ) I would not have got the outside screws in.Instructions are pretty poor, especially if you're not assembling the pictured configuration, but a competent DIYer should be able to figure out with bits to swap to move the door etc. hole alignment is not great, and a better latch on the door would be nice. I'd REALLY recommend getting help putting it together, preferably with your second person being pretty capable, not just additional hands.The roof is deceptively low, I'm roughly 6ft and can't stand up without bumping my head.Lots of this sounds negative and while it's a bit of a mission to put together, the final result looks good, seem to be leak free, and the vinyl seems pretty robust and should be maintenance free, which given the tight space it's in, was pretty important to me.It also seems to be the only plastic shed kit this size with an end door on the market, so that limited my choices a bit.
T**N
Very good, sturdy and waterproof shed
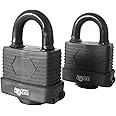
This shed is very well made and is quite rigid once fully assembled with a concrete floor. I wouldn't recommend a wooden floor, especially as it may get damp.I used much deeper mortar than recommended, well covering the cross-members.This makes for a much better floor, and securely fixes the shed to the mortar.With a 1/4 ton floor it will not blow away!I sloped the mortar down at the door.The roof panels have six plugs level with the main water flow. Silicon does seal (for a while). It would be better to have spacer plastic pieces screwed onto the main centre metal beam, with corresponding spaces on the roof panels. I fully expect I will have to remove and re-seal these six plugs over the years. Wind movement is bound to affect the silicon seal. If they eventually leak I may well remove them and water seal the holes with aluminium faced mastic squares. I will replace with standard self sealing and tapping metal roof screws (which I have in stock!).Update: As I suspected, there was a leak from one of these low-lying plugs during the very first rain storm. I will remove the six and cap the holes. I will glue underneath onto the main beam. A very very poor aspect of the generally good design. It needs to be resolved. It spoils a good shed.Many extra screws and plugs were provided.To reduce the cardboard package size, all long fittings are reduced in length with joins.I think they should be supplied full length.This particularly applies to the bracing bar halfway up. On one side, I removed the large plastic joiner and screwed the bracing ends direct into the vertical part. In order to fit vertical shelf brackets (screwed on the mid vertical bars and resting on the concrete base), I ground out a little to fit over the bracing each side (see photo).The 13" deep shelves are supported at each end with screwed-on 3/4 ply. This structure significantly braces the shed.A photo shows how successful the shelf installation is.The packaging is very bad. There was much damage in transit, and there is not the slightest protection for the main plastic parts inside. Fortunately there was no damage to any parts.I also fitted a sturdy lock (see photo).
M**N
It is a complicated build bit like Meccano
It is a complicated build bit like Meccano (86 parts). Also the design needs you to put screws in from the outside so if like me my space is 4fy 3inches wide there is not really enough room for assembly. Took 2 Days to build it. Also the roof again Vinal has plastic push in plugs, which you then need to seal with Silicon. I would not have bought this product had i realised all of this.The Vinal panels a flimsy, the finished shed moves if you push gently, there is no floor or base so I've spent extra on OMB3 18 mm flooring, I'm also putting plywood inside to strengthen the walls as they feel like they will collapse if anything is leant on them.
Trustpilot
1 day ago
3 days ago