Desert Online General Trading LLC
Dubai, United Arab Emirates
Desert Online General Trading LLC
Dubai, United Arab Emirates

🔩 Nail every joint with precision and style!
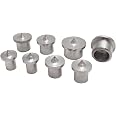
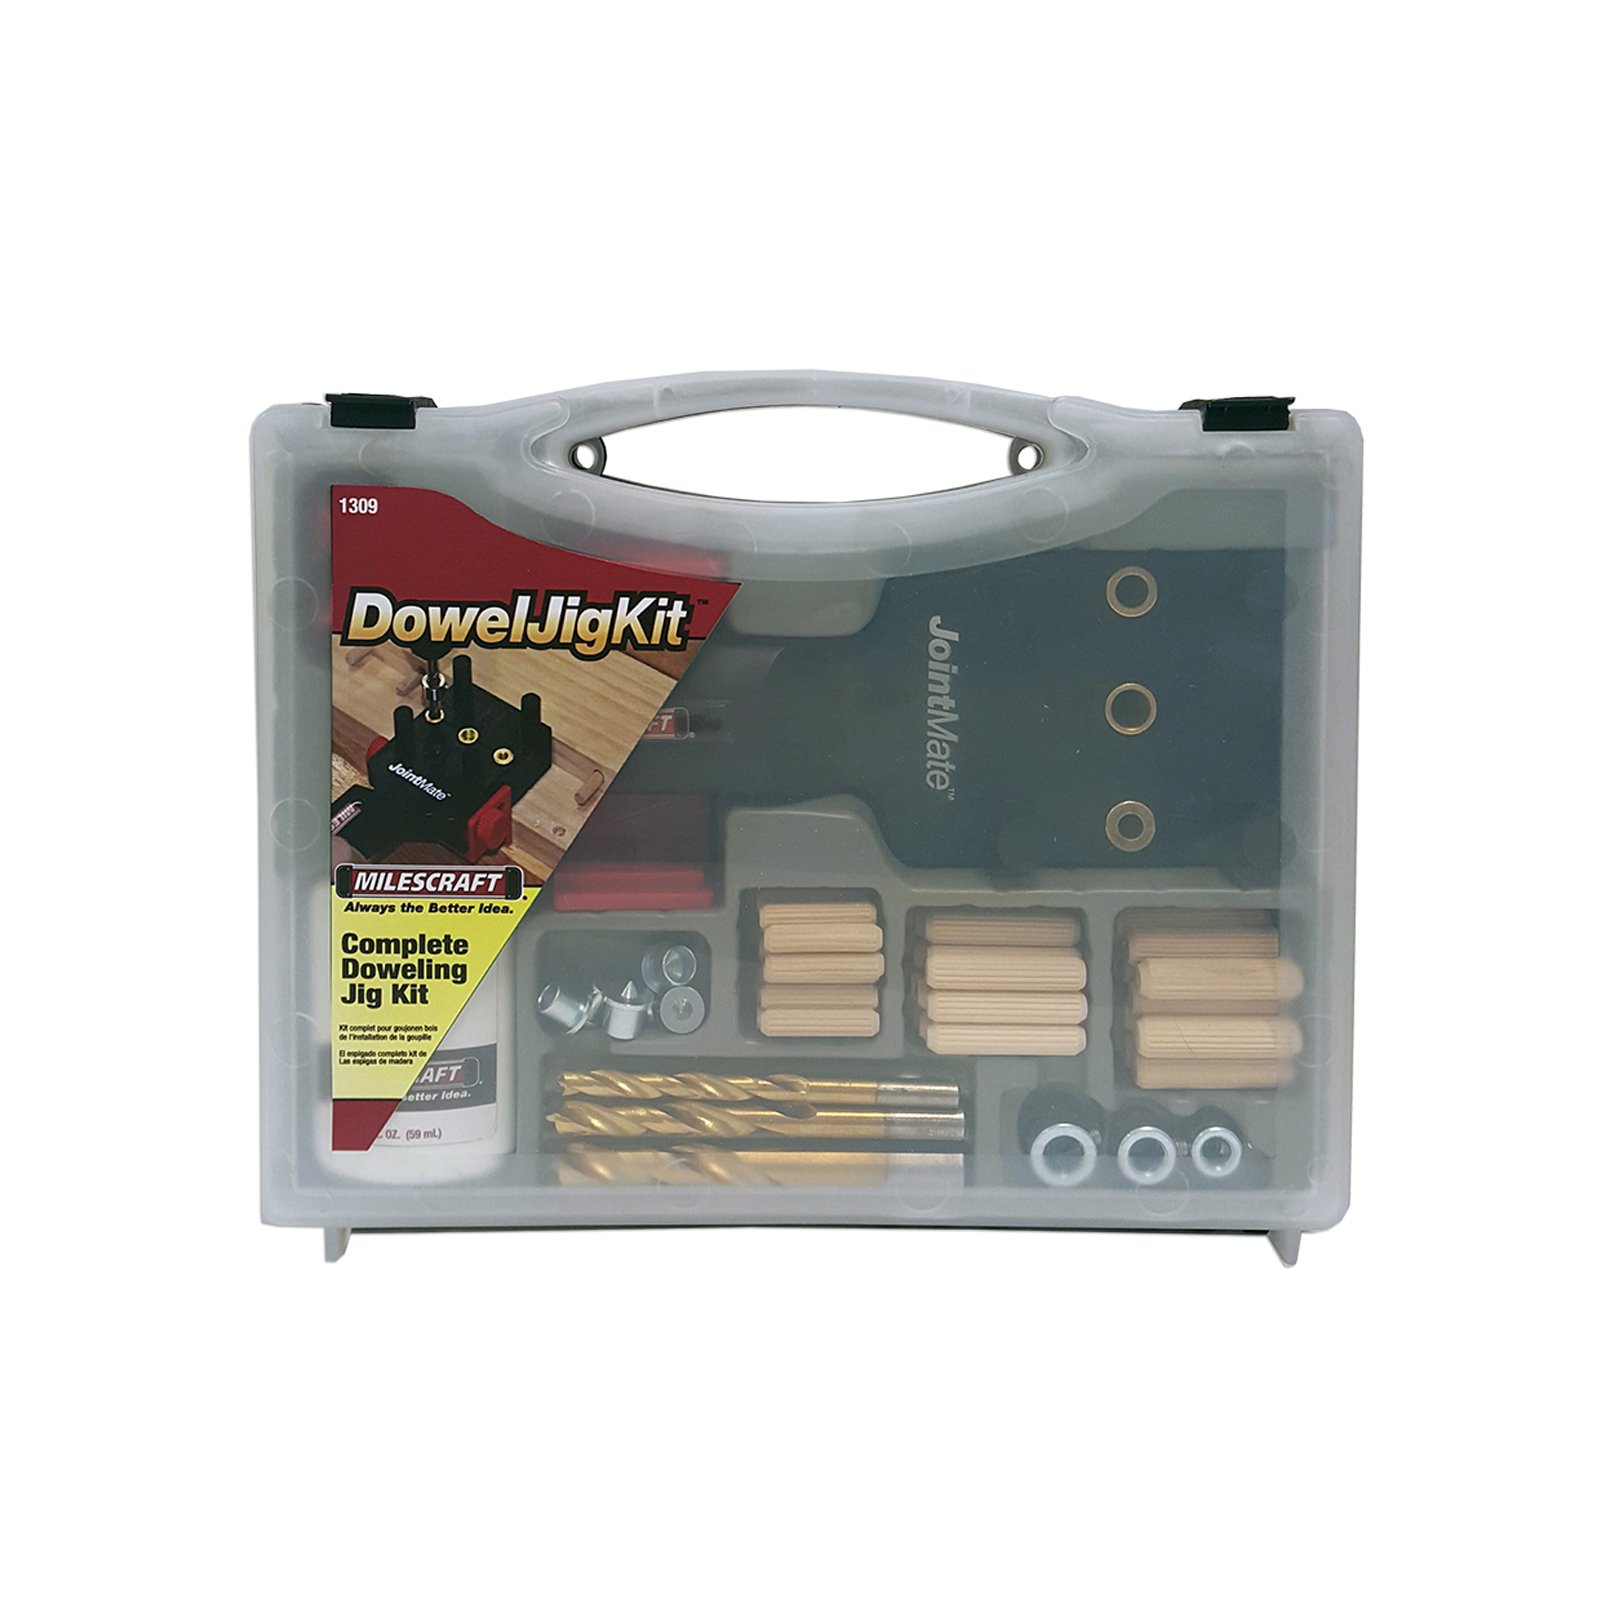
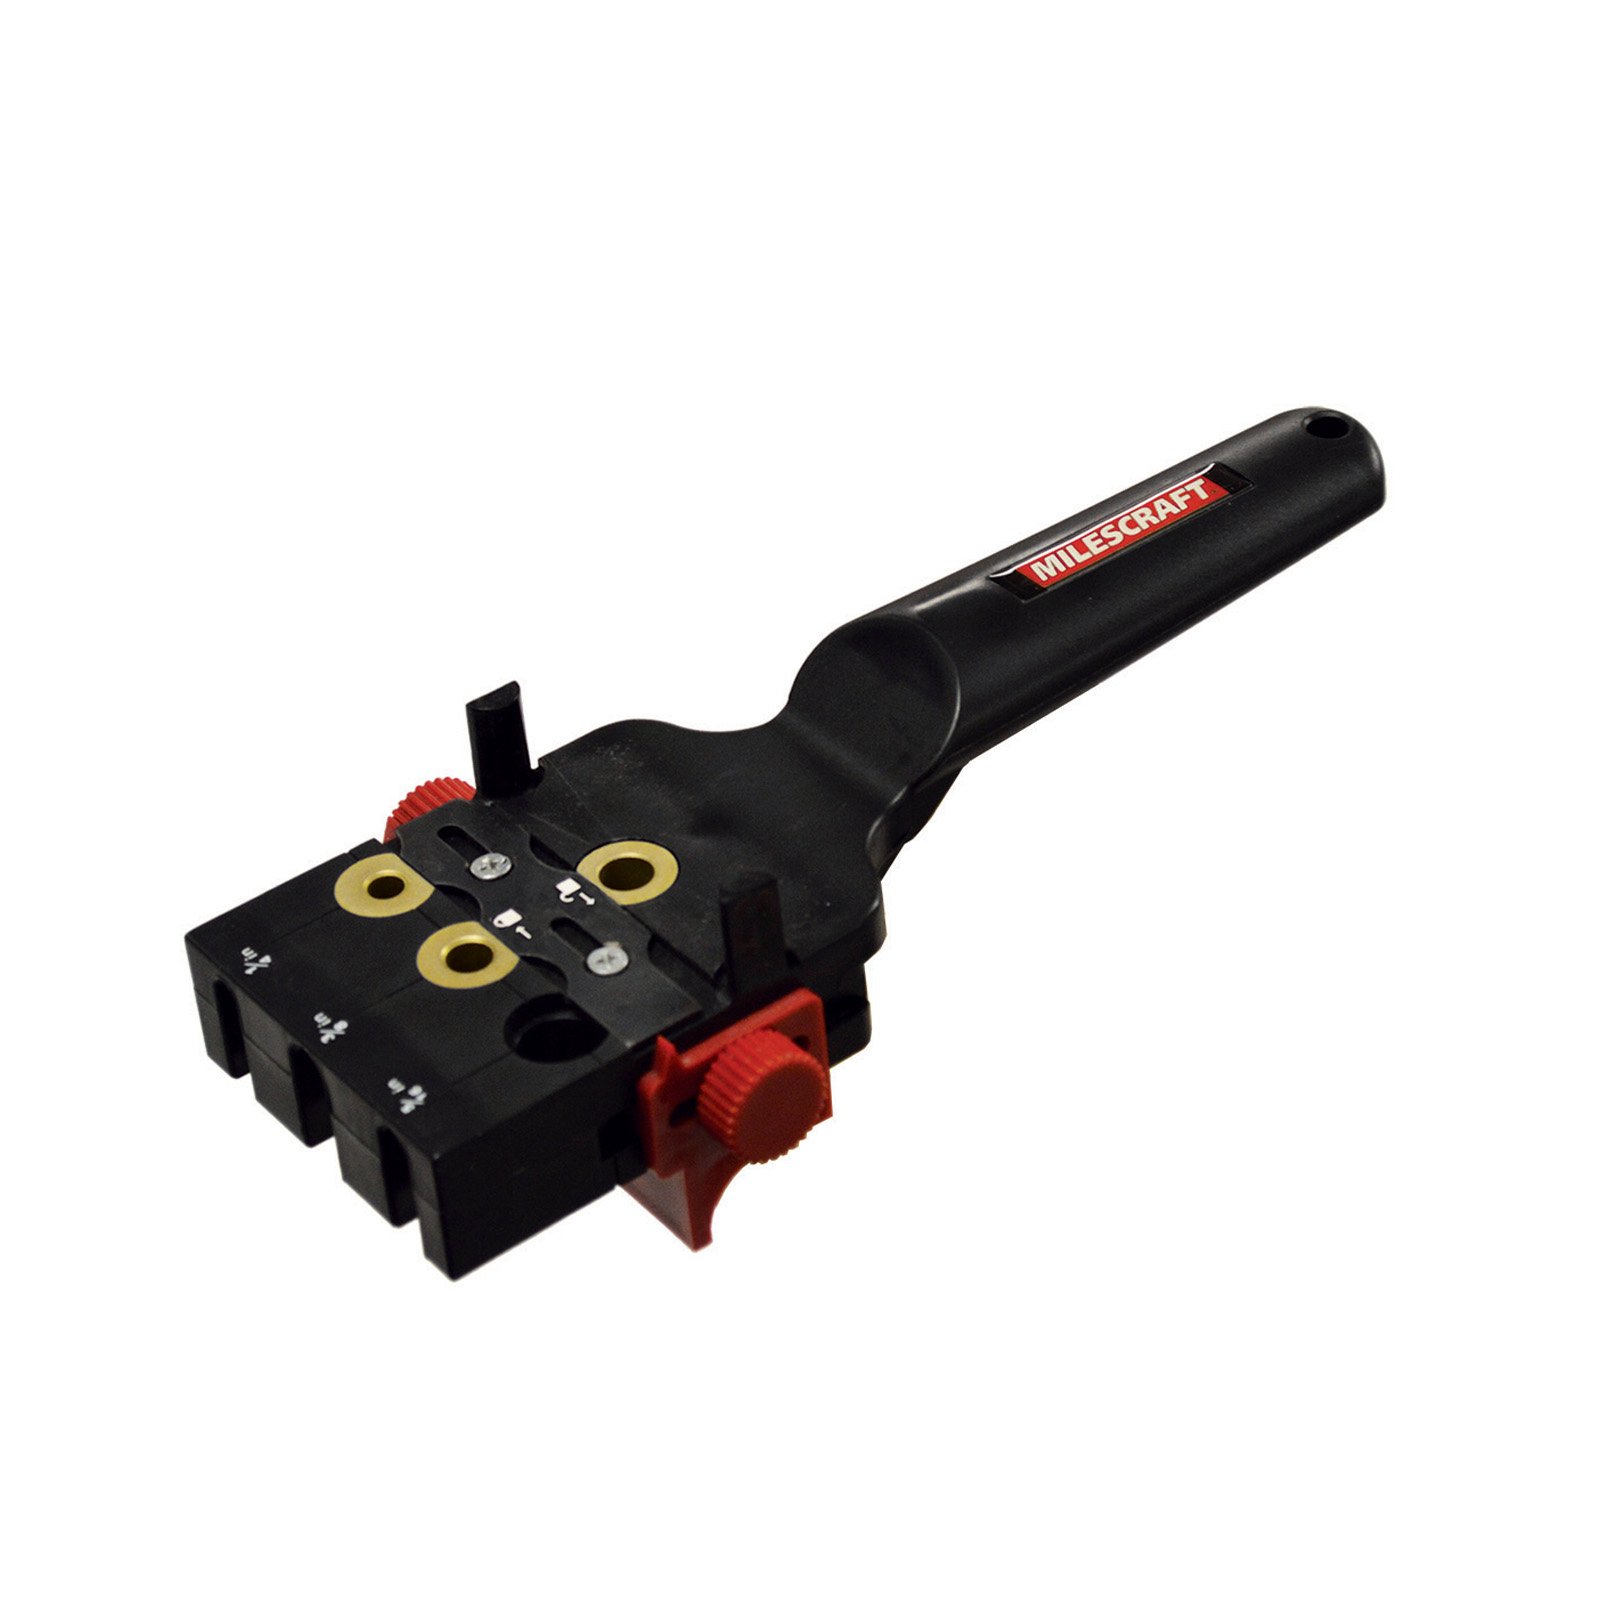
The Milescraft 1309 Doweljigkit is a comprehensive 82-piece doweling kit designed for professional-grade woodworking. Featuring precision metal bushings, hardwood dowel pins in three sizes, and brad point drill bits, it guarantees perfectly aligned, durable joints on lumber from 1/2" to 1-1/2" thick. Ideal for millennial makers seeking flawless craftsmanship and efficiency in every project.
| UPC | 737888133307 674894356972 703570499631 737888130900 |
| Manufacturer | Milescraft, Inc. |
| Part number | 13090003 |
| Item Weight | 844 g |
| Product Dimensions | 21.29 x 6.05 x 26.04 cm; 843.68 g |
| Item model number | 1309 |
| Size | Old Version Imperial |
| Color | Original Version |
| Style | OLD |
| Pattern | Kit |
| Power source type | Hand Powered |
| Item Package Quantity | 1 |
| Measurement System | Imperial |
| Batteries Included? | No |
| Batteries Required? | No |
Trustpilot
2 weeks ago
1 day ago