Desert Online General Trading LLC
Dubai, United Arab Emirates
Desert Online General Trading LLC
Dubai, United Arab Emirates


🚗 Fix it Fast, Drive with Confidence!
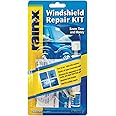
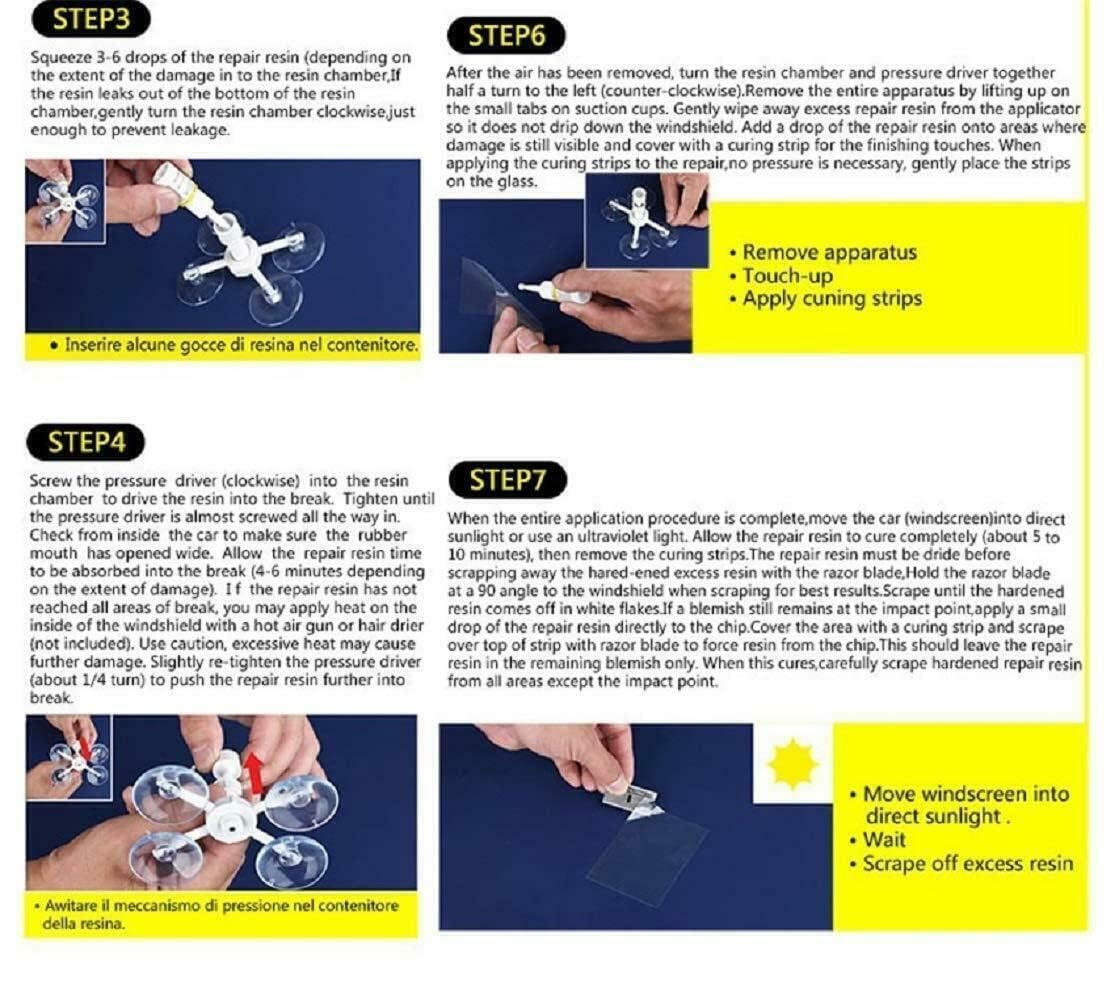
The RainX Fix a Windshield Do it Yourself Windshield Repair Kit is a compact and efficient solution for repairing chips and cracks in laminated windshields. Weighing only 2.4 ounces, this kit features an advanced resin formula that minimizes the appearance of damage and prevents it from spreading, making it ideal for multiple repairs.
| Manufacturer | Rain-X |
| Brand | Rain-X |
| Model | Windshield Repair Kit |
| Item Weight | 2.4 ounces |
| Product Dimensions | 1 x 4.38 x 8.56 inches |
| Item model number | 161890 |
| Is Discontinued By Manufacturer | No |
| Manufacturer Part Number | 161890 |
J**N
Not too involved of a process. Great results for a ~$20 product if you follow the directions.
Instructions were clear and concise though reading them first before attempting to use this product is definitely a benefit. The resin WILL leak out if you tighten the driver too much. Have a paper towel handy to mop up any leaks as the resin is indeed runny and there is a good chance it will get on your fingers (especially during the initial opening of the resin bottle; mine required a plastic plug to be cut off the tip). It's easy enough to clean up before it's cured and seems to come off hands easily with hand sanitizer/rubbing alcohol. The directions encourage you to repeat application as necessary until the crack/chip is satisfactorily filled, which may be necessary because, as other reviewers have said, this is definitely something that will take at least a try first before you get it right consistently.In my case the damage I was attempting to repair was a crack about two centimeters long with a couscous sized chip in the center. After the first application (steps 4 - 5), curing strip with a touch-up dot of resin (step 6), and second strip with resin pressed into damage (optional with step 7) all that was left was a shadow (for lack of a better word) of the crack a few millimeters under the surface as well as a slightly blurry, but flush, filled dot where the initial impact was. Removing the dried, excess resin is as easy as removing decals from a windshield. The package includes a razor blade which will safely remove the dried excess resin when used with a bit of pressure (without scratching your windshield! Believe me I was skeptical at first).Total time took about 30 minutes from start of process to putting everything away. I was left with maybe a half bottle of resin left but I seriously over applied it. To guarantee reliable shade followed by reliable sunshine (it's required to apply the resin in the shade, then move the vehicle to sunshine/remove the shade to allow the resin to cure) I waited until the weather was anticipated to be clear and sunny, drove to a local parking garage to apply the resin inside the shade, then moved to the top floor to start the curing.Overall very satisfied. I will update this if I notice the crack spreads despite using this product.UPDATE:It's been about 5 months (I think) since applying this product and I have noticed no change in the results I had seen back then, and that is with the windshield experiencing temperatures of over 100 degrees over the past few weeks.
J**R
Easy to use and does a decent job
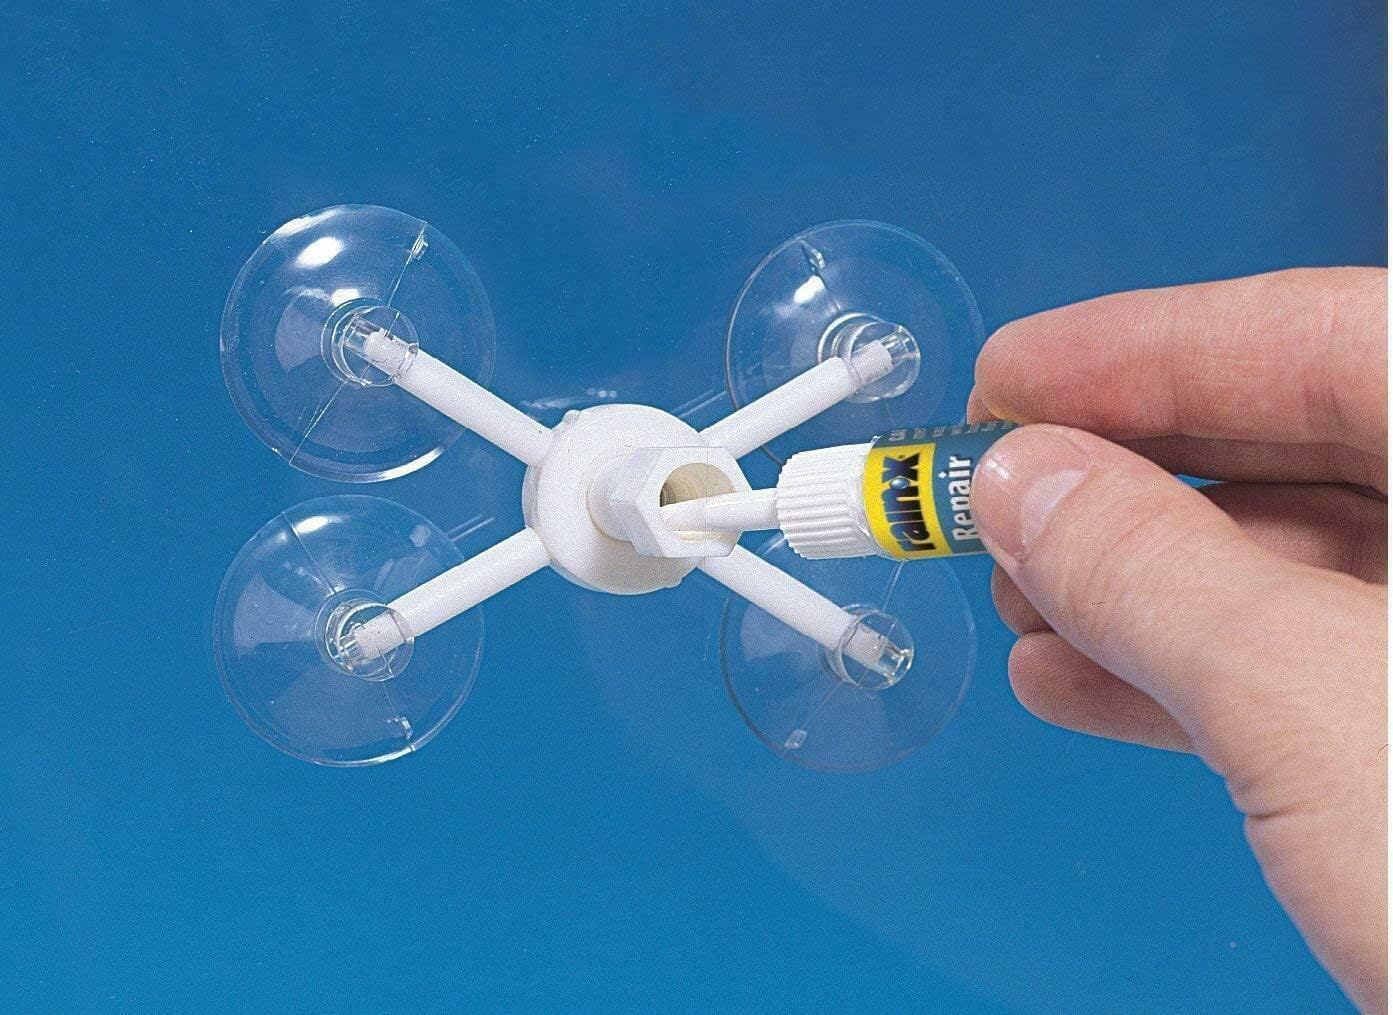
I'm not much of a DIY guy but I managed to repair a dime size chip in my windshield with good results. Here's what I did step by step:1) I cleaned my windshield thoroughly with spray on window cleaner and a terry cloth. I followed that up with a splash of alcohol and a bit more wiping. I used the included flat razor to scrape out the pieces of glass and blew out the fragments with some compressed air. I cleaned the area around the chip again and moved my vehicle into the shade.2) I centered the empty tube over the chip and walked the suction cups around a bit to get it centered over the chip. I screwed the chamber down through the suction mount until the the mouth of the rubber foot was flush against the windshield.3) I cut the tip off the resin bottle and put several drops into the empty chamber. Side note - I got this stuff on my hands and it has a pretty strong smell. It's probably not good for you so I would recommend gloves to others who tend to be messy.4) I screwed the plunger down into the chamber and watched the resin flow into the chip area. I waited a few seconds and screwed the plunger down some more until I saw the resin escape the seal provided by the rubber foot. The instructions say to wait a few minutes before doing that, and so I repeated the process after some time had passed. I looked at the crack from inside the car and noticed the resin didn't penetrate down to a few deep hairline cracks. The instructions say you can use a heat gun or blower to help the resin flow into the cracks but you can also damage the windshield further. I opted not to use heat.5) I screwed the plunger down all the way and backed it out a bit to produce some suction. It's not in the instructions but I thought I might get some air bubbles out, although I didn't see any at that point. I removed the suction cup assembly and wiped off the excess resin that ran down the windshield.6) I took the curing strip and placed it over the wet resin, and I eventually dripped a bit more resin on the windshield to get contact without bubbles. After that was done, I moved my car out into the sunlight and let it sit for about half an hour. It was cold that day and not very sunny, so I decided to leave it longer than the instructions said.7) I took the straight razor and cut off the loose pieces of the curing strip. I scraped and cut away pieces of the strip until I had a small section over the chip. I scraped at a 80-90 degree angle from that point on to remove excess resin.It's been about two weeks now since I made the repair and we've had temperatures hovering around the 0 degree mark. The original repair looked quite good aside from the deep hairline cracks, but since then it looks like those cracks are spreading very slowly. The cracks are on the lower part of the first layer, and so I can't really blame the product here because I think this particular chip needed drilled out before the repair.I would definitely recommend this to anyone though and it was easy enough almost anyone could do it. It saves time and money, although I don't think it's the right solution for every chip.
Trustpilot
2 months ago
1 month ago